Homemade Canned Cherry Pie Filling (With Sour Cherries)
Recipe at a Glance
- What it is: Homemade canned cherry pie filling made with sour cherries and Clear Jel.
- Yield: About 7 quarts.
- Best cherries to use: Fresh sour or tart cherries.
- Thickener: Clear Jel, not cornstarch or flour.
- Canning method: Boiling water bath canning.
- Headspace: 1 inch.
- Processing time: 35 minutes, adjusting for altitude if needed.
- Best for: Cherry pie, cobbler, crisp, cheesecake topping, hand pies, ice cream, pancakes, and yogurt.
- Storage: Store sealed jars in a cool, dark place. Refrigerate after opening.
Homemade canned cherry pie filling is one of those pantry recipes that feels like a gift to your future self. When sour cherries are in season, turning them into jars of bright, glossy pie filling means you can have cherry pie, cobbler, crisp, or cheesecake topping long after cherry season is over.
This recipe uses tart cherries, sugar, lemon juice, and Clear Jel to make a thick, beautiful filling that is safe for water-bath canning when prepared properly. The flavor is sweet, tangy, and so much better than store-bought canned filling.
It does take some time to pit the cherries and fill the jars, but once those jars are cooling on the counter, it feels worth every sticky red-fingered minute.
This post may contain affiliate links, which means I may earn a small commission at no extra cost to you. As an Amazon Associate, I earn from qualifying purchases.
Canning Safety Note
This recipe is made for water-bath canning and uses Clear Jel, which is the recommended thickener for home-canned pie fillings. Do not replace the Clear Jel with flour, cornstarch, tapioca, or regular instant pudding mix for canning. Those thickeners can affect how heat moves through the jar and are not recommended for shelf-stable canned pie filling.
Always use bottled lemon juice, follow proper headspace, process the jars for the full recommended time, and adjust processing time for your altitude when needed. If you are new to canning, check current guidance from the National Center for Home Food Preservation before getting started.
Why You’ll Love This Homemade Cherry Pie Filling
- Uses sour cherries for a more “bakery” flavor
- No artificial stuff
- Thickens perfectly for pies, but also works for other desserts
New to Canning?
If you are new to canning or unsure about the supplies needed and safety, I recommend checking out the National Center for Home Food Preservation. Their site is full of solid, reliable info.
Helpful Tools for Canning Cherry Pie Filling
You do not need fancy equipment to make homemade canned cherry pie filling, but the right tools make the process much easier. A cherry pitter saves a lot of time when working through several quarts of cherries, and a water-bath canner, canning funnel, jar lifter, and bubble remover help make filling and processing the jars easier. I also like having a large stockpot or Dutch oven for cooking the filling before it goes into the jars.
Ingredients You’ll Need
- Fresh sour cherries
- Sugar
- ClearJel (Clear Jel is used because it holds up better during canning and gives the filling a smooth, glossy texture. For shelf-stable canned pie filling, do not replace it with cornstarch, flour, tapioca, or regular instant pudding mix.)
- Bottled Lemon juice for acidity
- Cinnamon (Optional)
- Almond extract for that signature flavor note (optional but I highly recommend)
How to Make Homemade Canned Cherry Pie Filling
Prep the Cherries
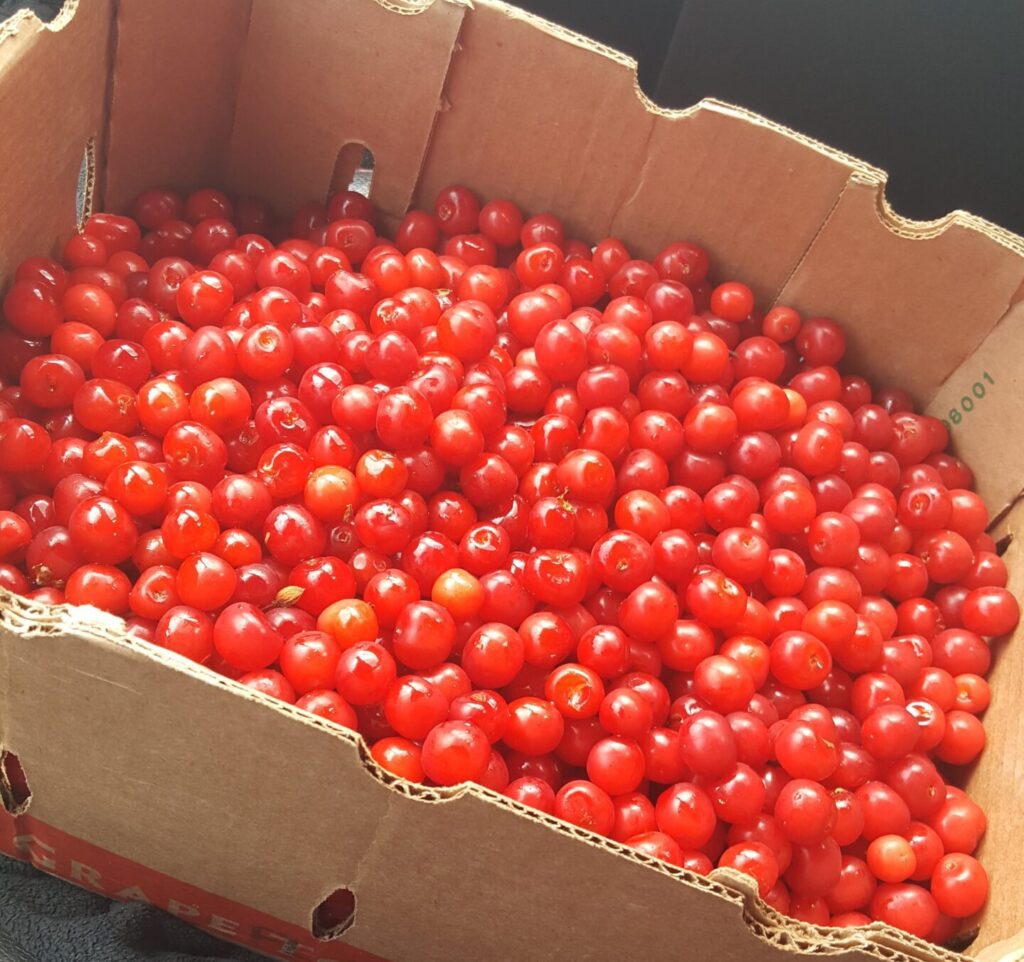
Start by washing your cherries and removing any stems or bad cherries.
The Pit Struggle Is Real:
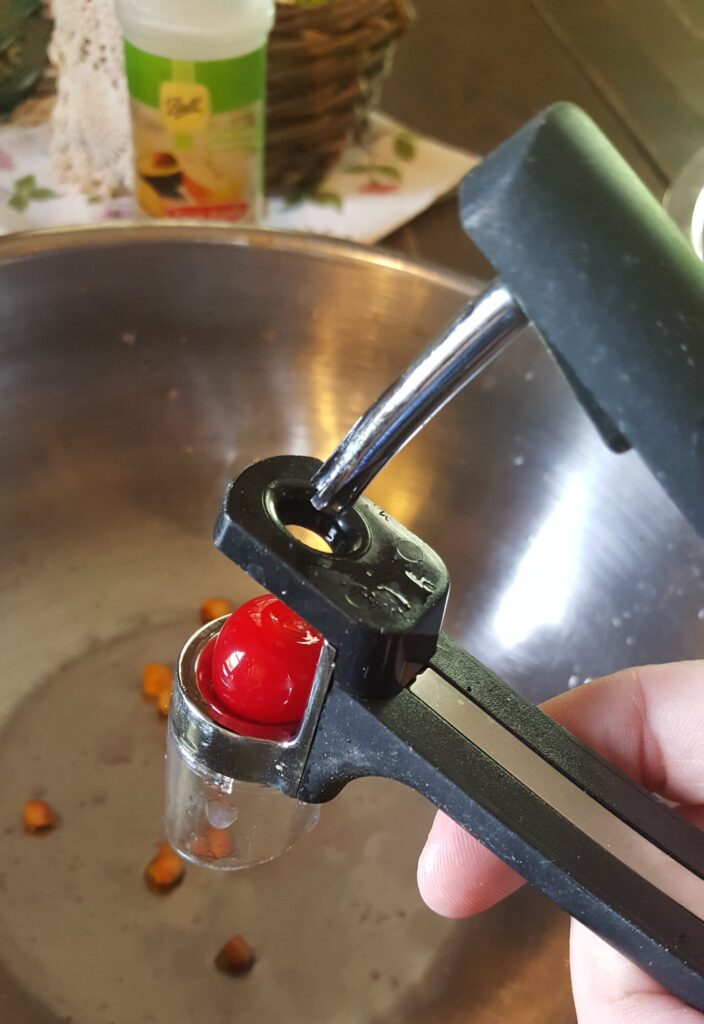
I use a cherry pitter that only does one cherry at a time (ugh). Next year, I’ll be using a multi-cherry pitter. You’ll want a large bowl underneath to catch the juice as you pit.
Tip: Once I’ve got a bowl of pitted cherries, I pour them into a bowl of water with the juice of half a lemon or a pinch of citric acid. This keeps them fresh while I finish the rest.
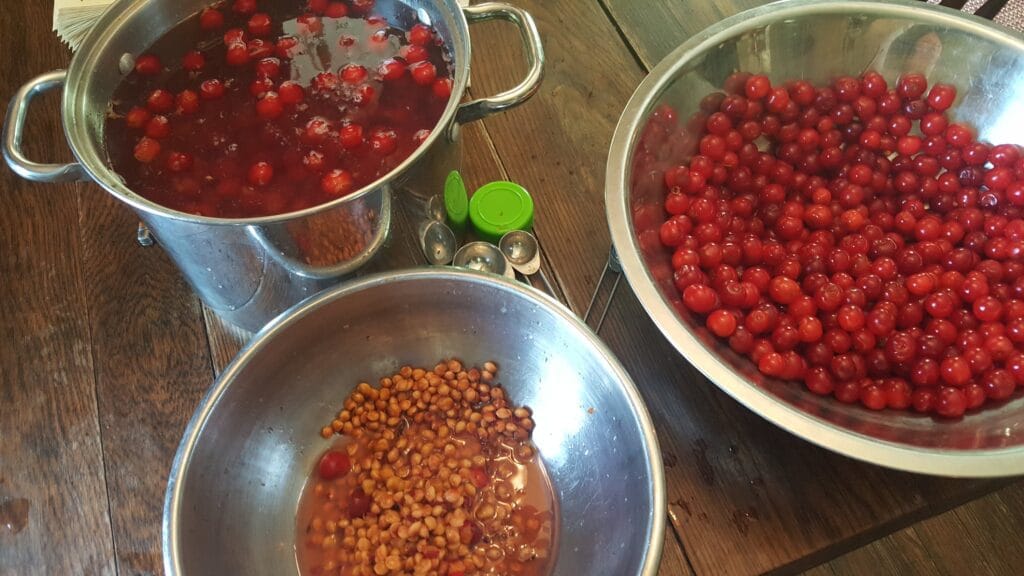
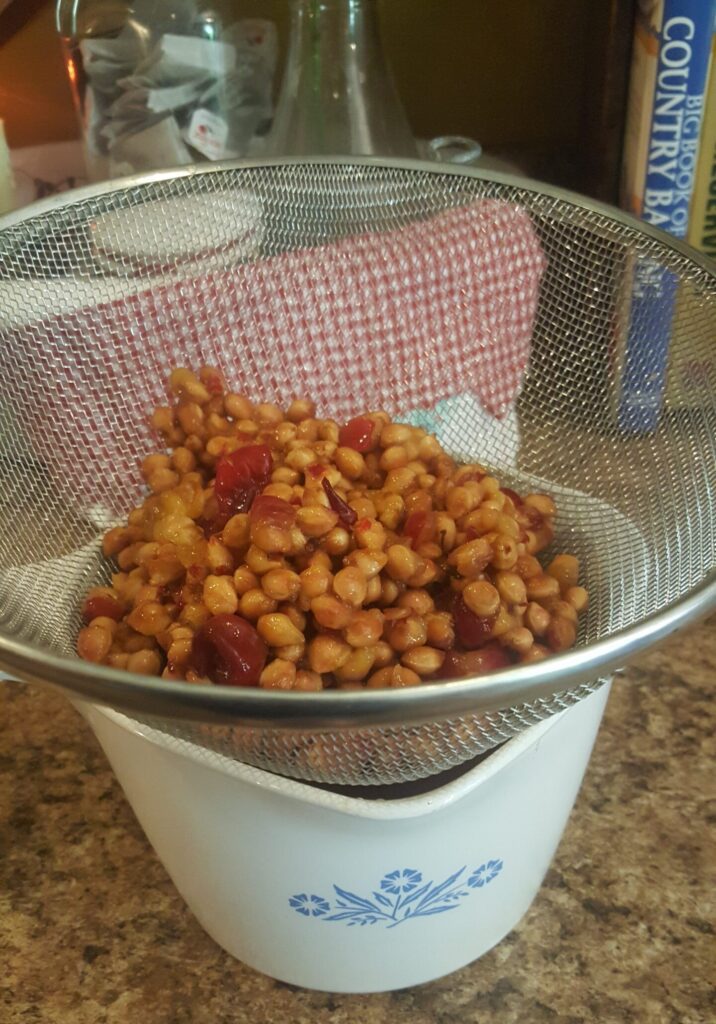
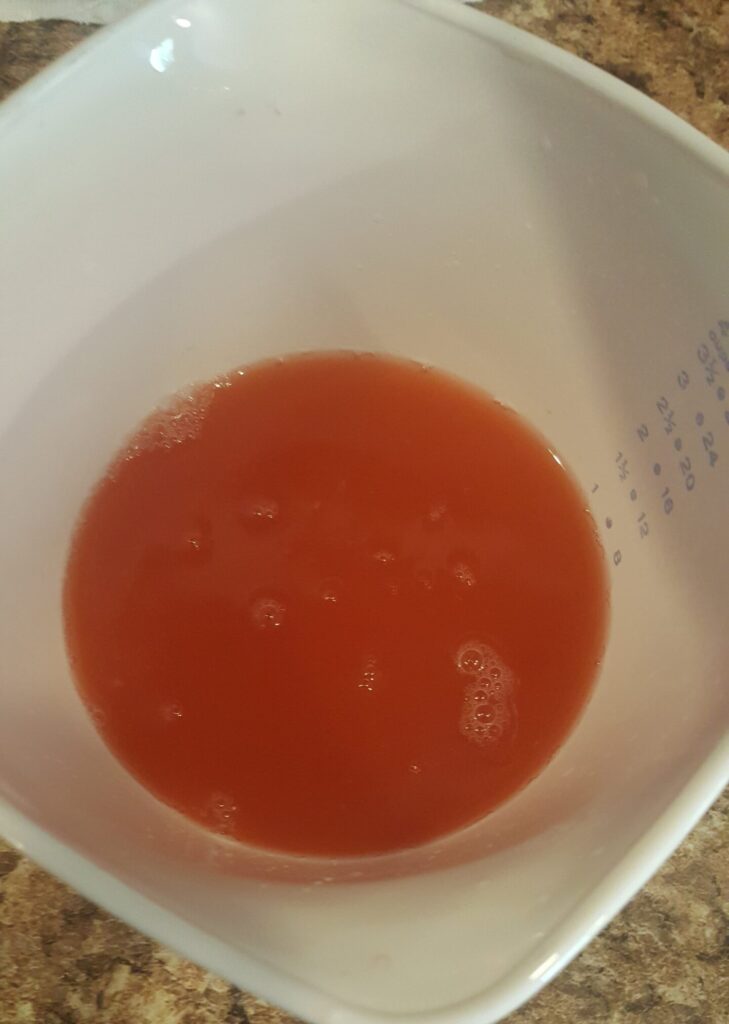
After all the cherries are pitted, I dump the pits in a colander over a bowl to collect the juice. You will need that juice later.
Before You Start Canning
Before you start cooking the filling, wash and prepare your jars, lids, and bands. Have your water-bath canner heating, your cherries pitted, and your tools ready to go. Once the filling is thickened and hot, it should be ladled into jars and processed right away.
The National Center for Home Food Preservation says to fill jars without delay, leave 1 inch headspace, and process immediately for canned cherry pie filling.
Make the Filling
In a large heavy bottom pot combine the following:
- Clear Jel (Clear Jel is used because it holds up better during canning and gives the filling a smooth, glossy texture. For shelf-stable canned pie filling, do not replace it with cornstarch, flour, tapioca, or regular instant pudding mix.)
- Sugar
- Cherry juice (collected while pitting)
- Water
- Cinnamon
- Almond extract (optional but lovely)
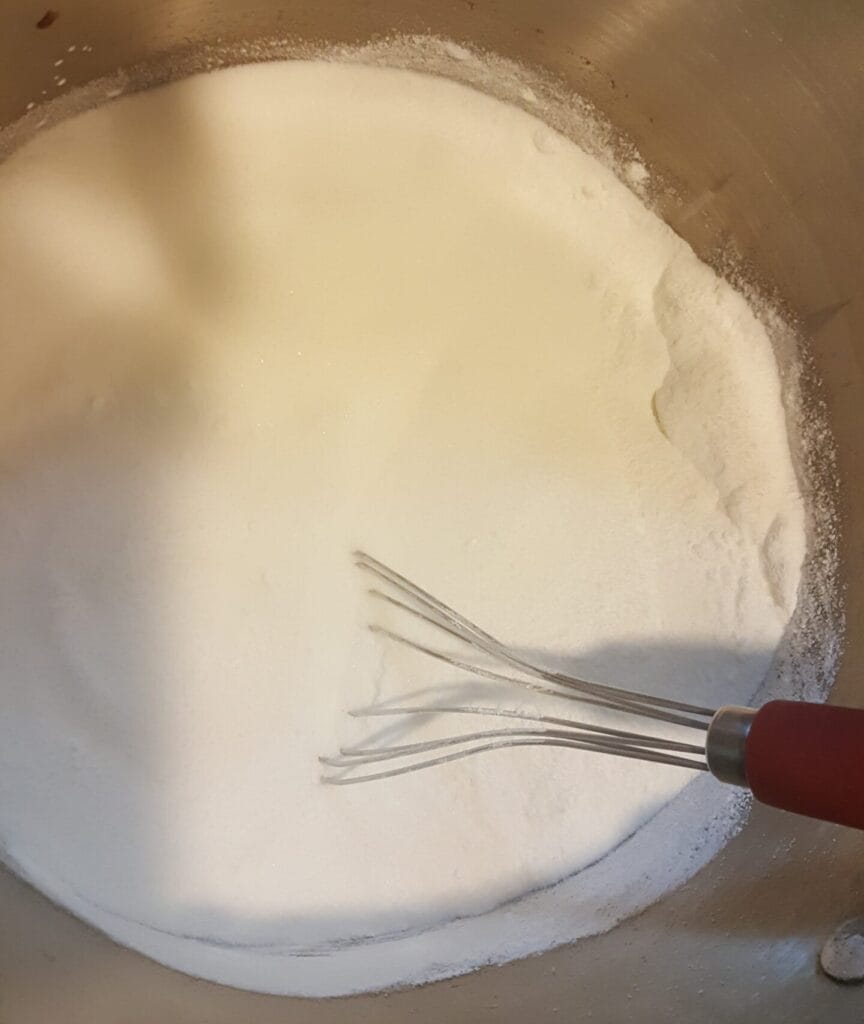
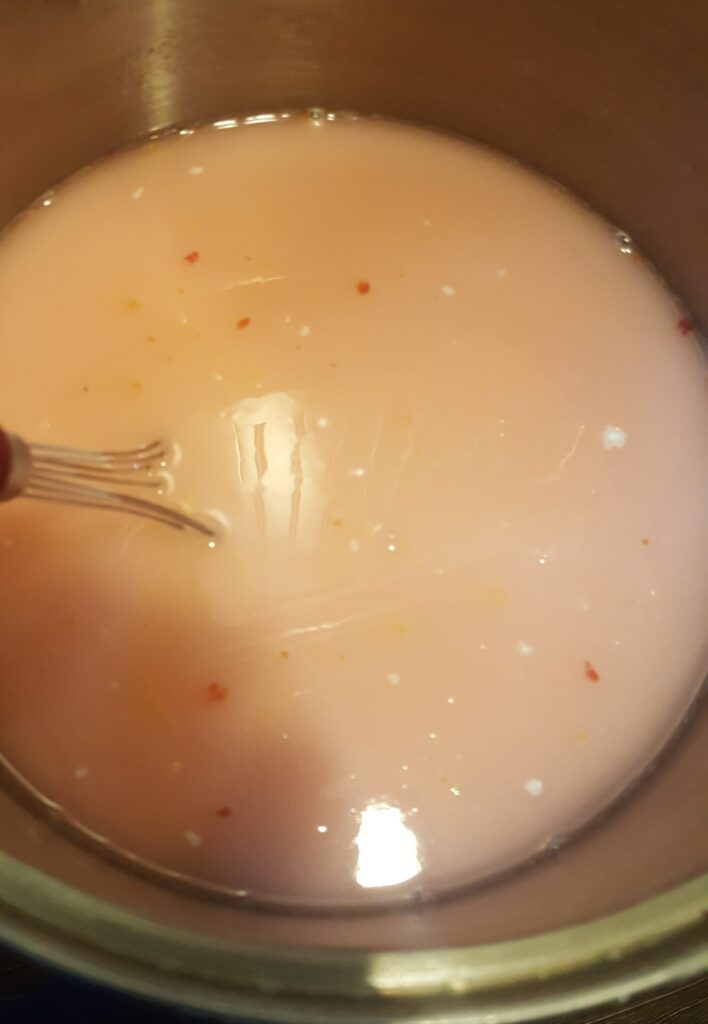
Stir this mixture over medium heat until it is thick and bubbly.
I then add lemon juice and cherries. Stir gently so cherries stay whole and pretty.
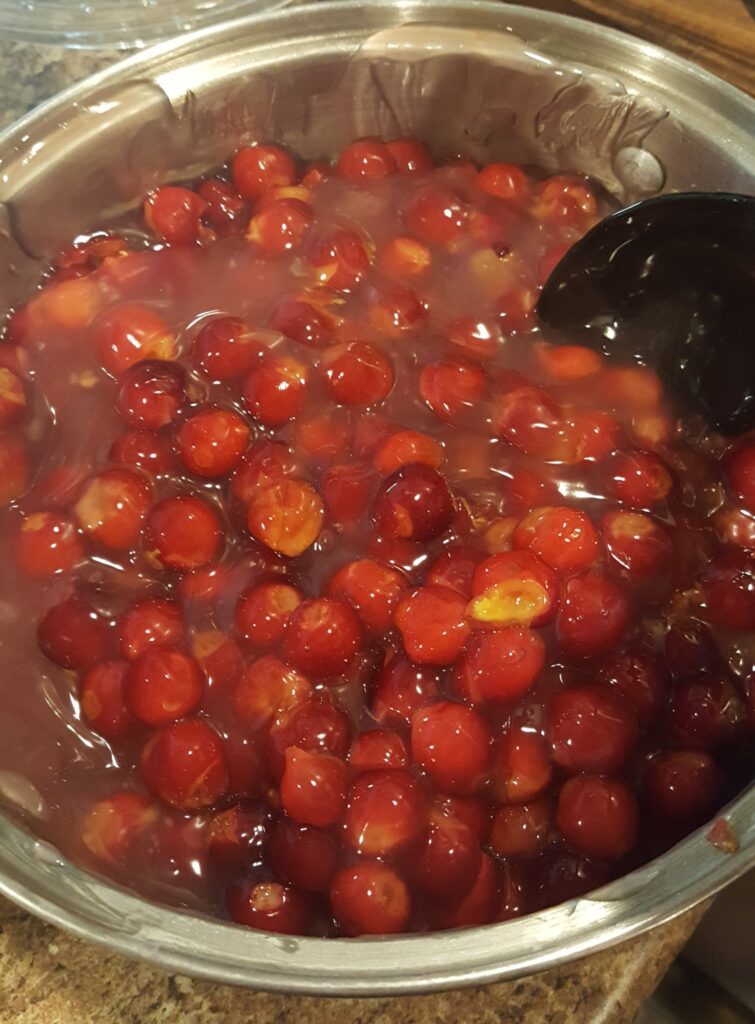
Fill & Process the Jars
- Ladle the hot filling into your warm jars, leaving 1 inch headspace
- Wipe rims clean
- Apply lids and rings
- Process in a boiling water-bath canner for 35 minutes (timer starts when water is boiling)
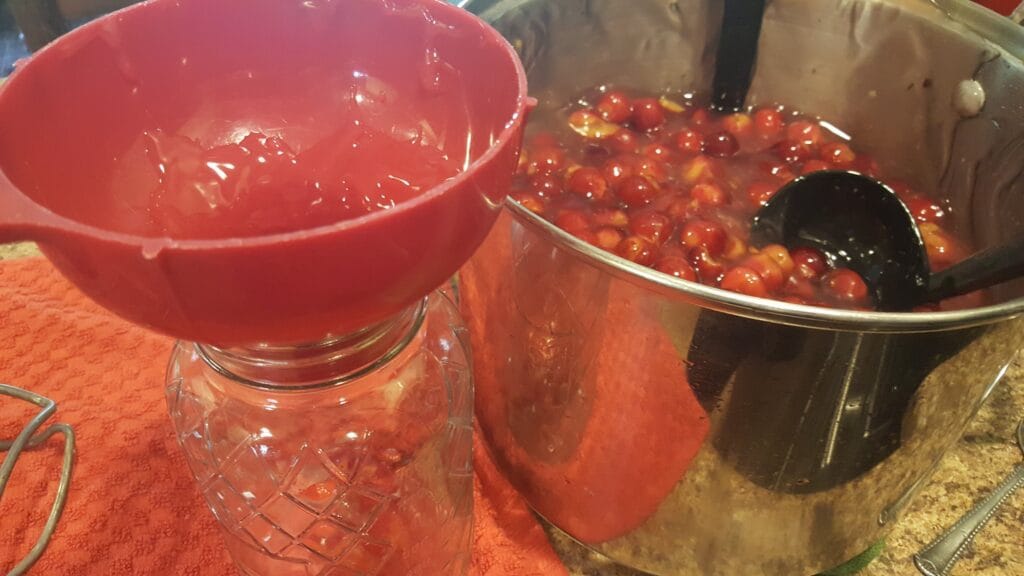
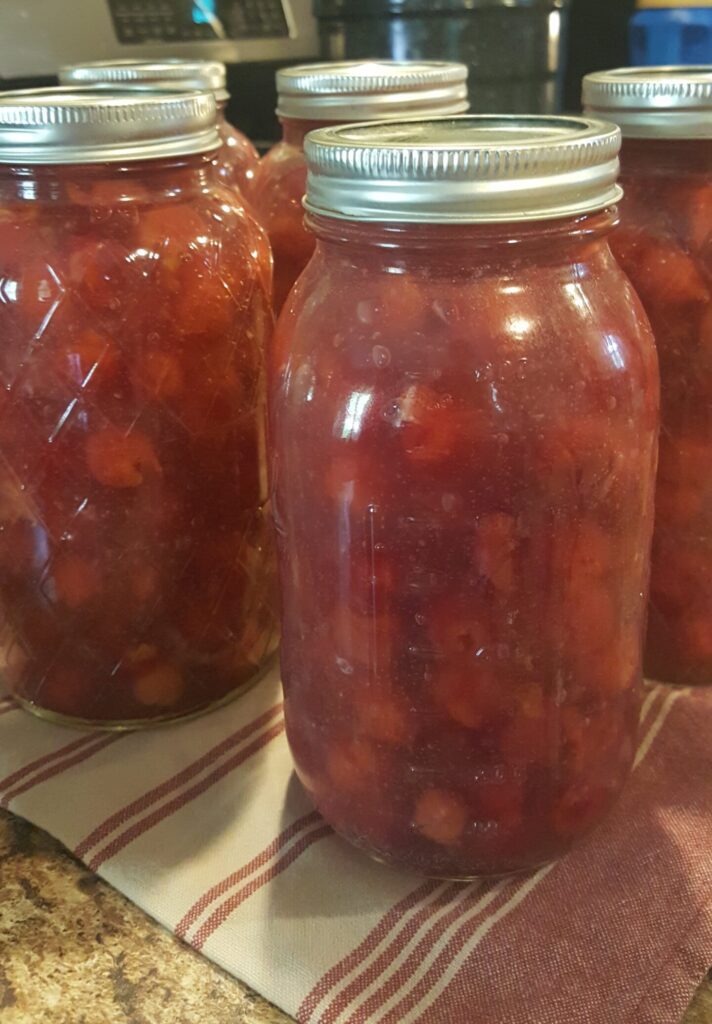
Bonus: Save Some for Pie or Cobbler
I always like to leave out a little extra to make a pie, cobbler, or crisp the same day. After all that pitting, a warm cherry dessert feels like a well-earned reward.
How To Use Cherry Pie Filling (Beyond Pie)
- Cheesecake topping
- Hand pies
- Ice cream sundaes
- Yogurt parfaits
- Thumbprint cookies
- Spoonful on pancakes or waffles
Once you have jars of cherry pie filling on the shelf, you are already halfway to a homemade dessert, especially when you have a good pie crust recipe ready to go.
Storage, Shelf Life & Canning Notes
- In the fridge: for up to 5 days
- Canning: water-bath safe only if using ClearJel
- Tip: Label and date jars
Canned Cherry Pie Filling FAQ
Can I use sweet cherries? Yes, you can but you might want to reduce the amount of sugar since sweet cherries are a lot sweeter than sour cherries. The color will also be a deeper red instead of the brighter red of sour cherries.
Can I use frozen cherries? Yes! Just thaw and follow the recipe as usual.
Can I freeze the pie filling instead of canning it? Yes, you can freeze this recipe instead of canning.
HAPPY CANNING!!
There’s nothing like seeing your pantry fill up with jars of homemade pie filling. It takes time, sure – but it’s the good kind of work, the kind that pays off all year long.
If you love homemade fruit desserts, you might also like my strawberry rhubarb pie or easy peach crisp.
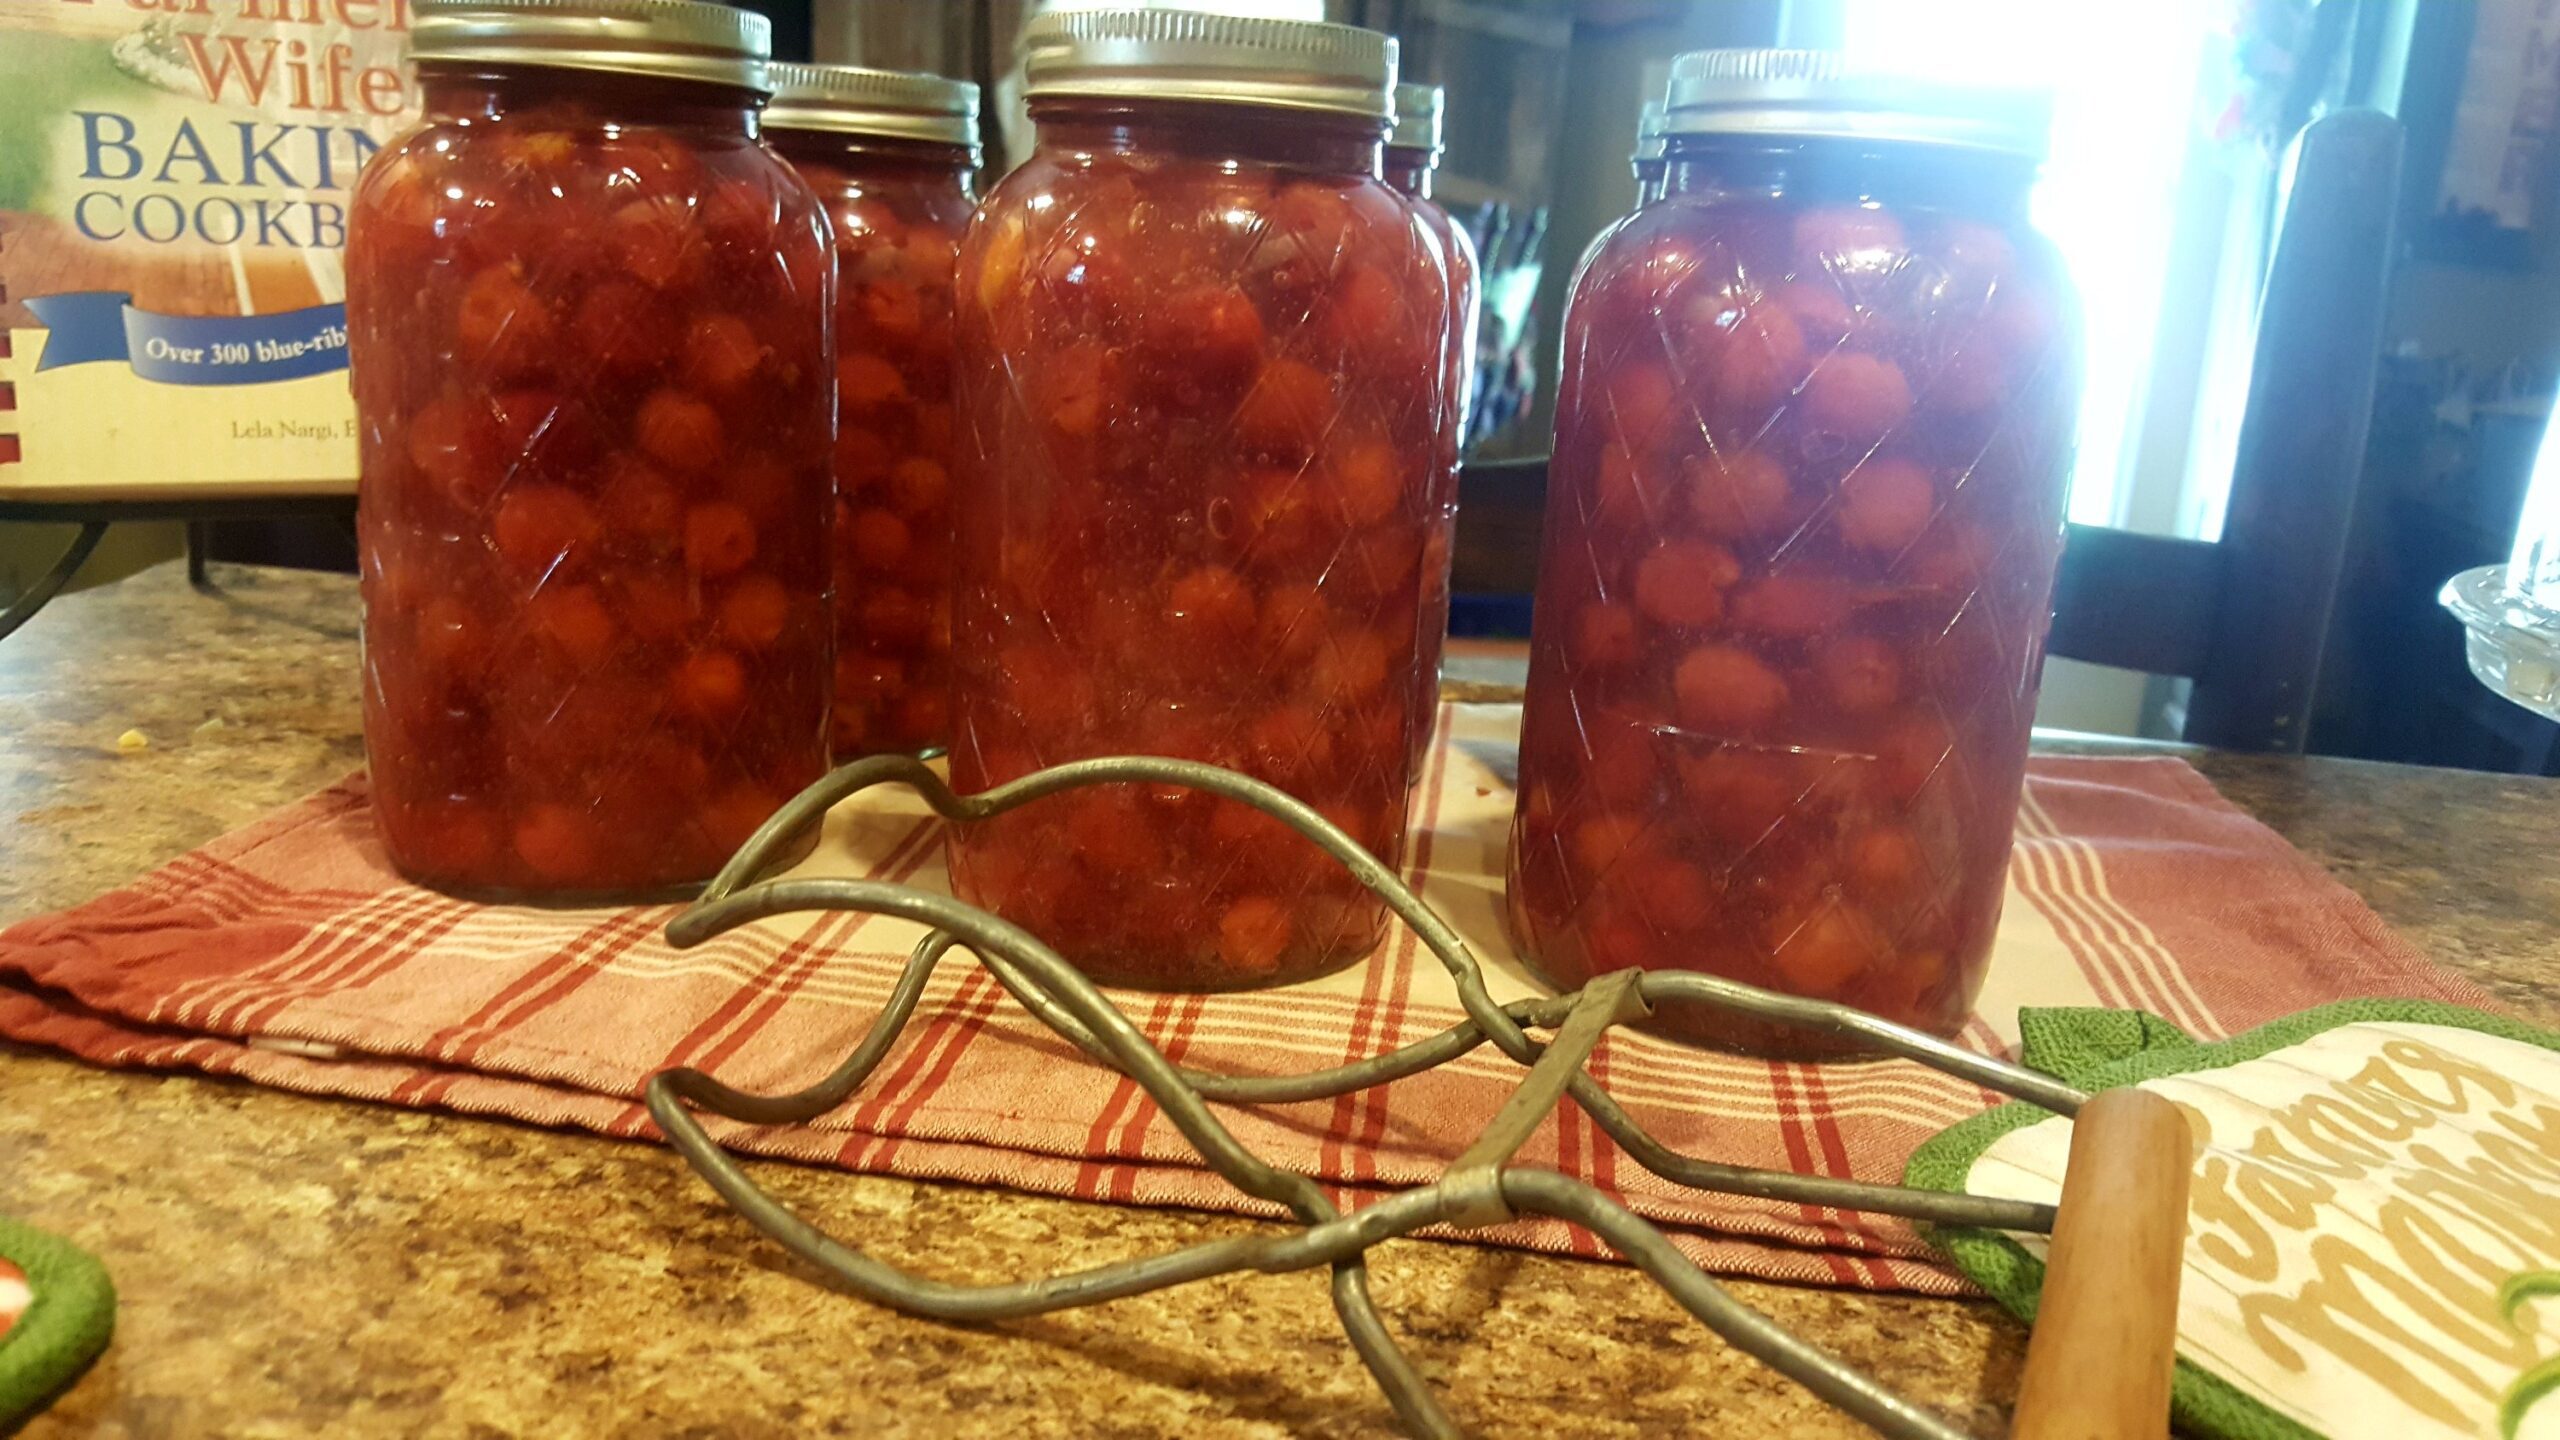
Homemade Canned Cherry Pie Filling (With Sour Cherries)
Ingredients
Equipment
Method
- Pit cherries over a large bowl. Dump seeds in colander collecting juice. Set aside.
- Prepare canner, jars and lids. https://nchfp.uga.edu/how/can_home.html
- In a large stainless steel heavy bottom pot, mix together sugar, Clear Jel, cinnamon, almond extract and water with reserved cherry juice. Boil until thickened and mixture is beginning to bubble. Be sure to stir! Add cherries and lemon juice and bring to another boil while constantly stirring. Remove from heat.
- Carefully ladle the filling into your warm sterilized jars leaving 1 inch headspace. Don’t forget to remove air bubbles and adjust your headspace if necessary. Wipe rims and put a lid and band on each jar. Screw lids fingertip tight.
- Carefully place jars in waterbath canner. Be sure they are covered completely with water. Bring to a boil and process for 35 minutes.
Notes
- Use Clear Jel for canned pie filling. Do not substitute cornstarch, flour, tapioca, or regular instant pudding mix for shelf-stable canning.
- Bottled lemon juice is recommended for consistent acidity.
- Leave 1 inch headspace in each jar and remove air bubbles before processing.
- Processing time may need to be adjusted based on your altitude. Check current canning guidance if you are unsure.
- If a jar does not seal, refrigerate it and use within a few days.
- Store sealed jars in a cool, dark place. Refrigerate after opening.