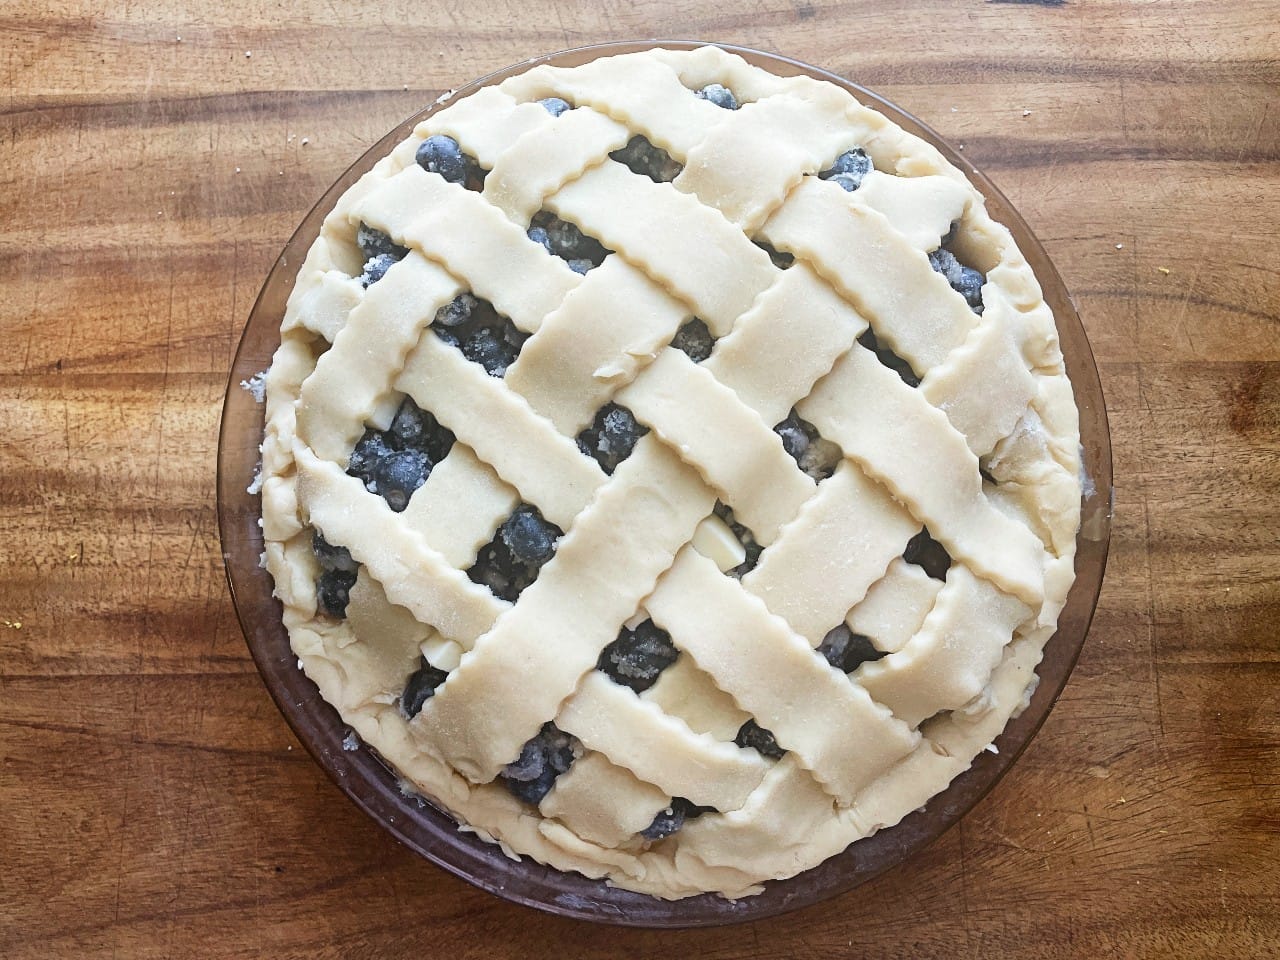
Perfect Pie Crust Made in a Food Processor
Recipe at a Glance
- What it is: A buttery homemade pie crust made quickly in the food processor.
- Yield: Enough dough for one double-crust pie or two single pie crusts.
- Best for: Fruit pies, cream pies, custard pies, pot pies, hand pies, and savory pies.
- Texture: Flaky, tender, buttery, and sturdy enough to hold a filling.
- Chill time: At least 1 hour before rolling.
- Make-ahead friendly: Yes. Refrigerate the dough for up to 2 days or freeze it for up to 3 months.
- Key tip: Keep the butter cold and stop pulsing before the dough turns into a smooth ball.
Homemade pie crust used to be one of those things that felt a little intimidating to me. I thought it had to be done the old-fashioned way, with a pastry cutter and a lot of hoping for the best. Then I started making pie crust in the food processor, and it changed everything.
This food processor pie crust is buttery, flaky, and simple enough for everyday baking. The processor cuts the cold butter into the flour quickly, which means less handling, less mess, and a better chance at those flaky layers we all want in a homemade crust.
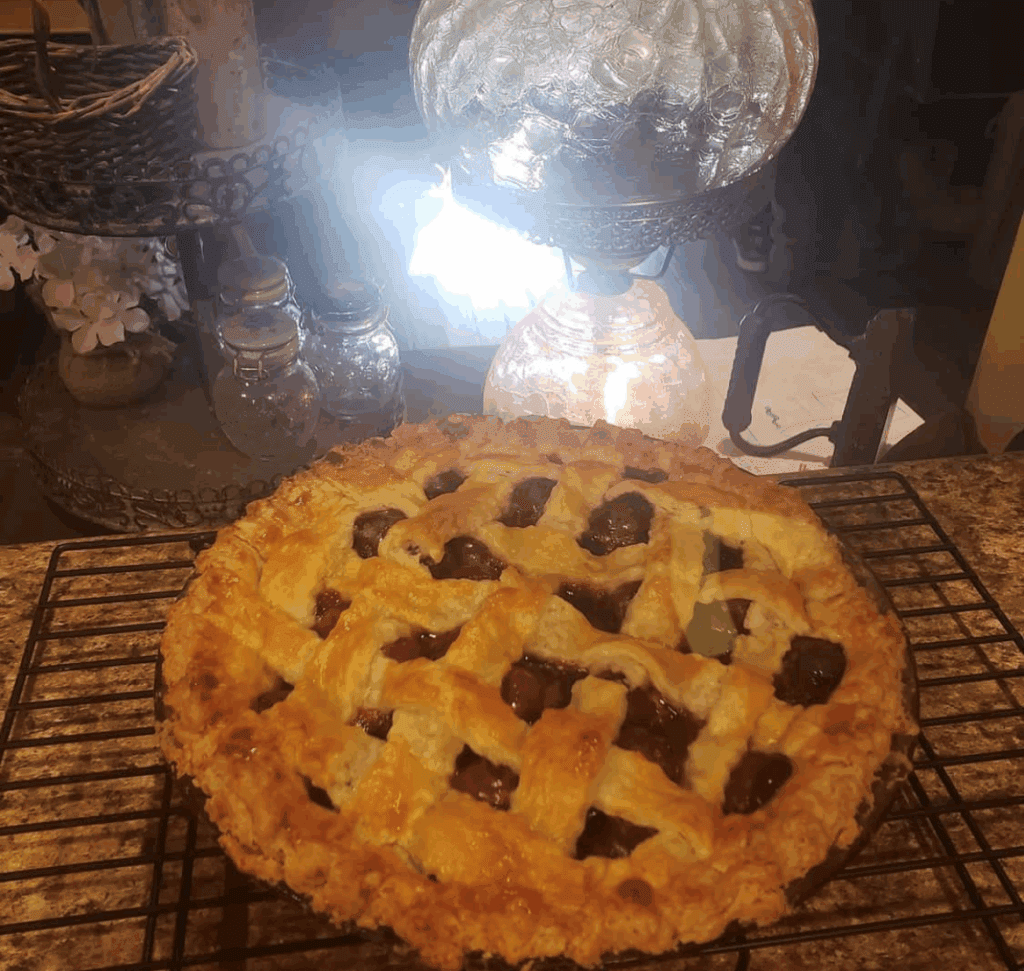
This crust is perfect for my homemade canned cherry pie filling, strawberry rhubarb pie, or any cozy fruit pie you want to bake from scratch.
This post may contain affiliate links, which means I may earn a small commission at no extra cost to you. As an Amazon Associate, I earn from qualifying purchases.
Why You’ll Love This Food Processor Pie Crust
- It comes together quickly with simple pantry ingredients.
- The food processor cuts the butter into the flour before it has a chance to melt.
- It makes enough dough for one double-crust pie or two single-crust pies.
- It works for sweet pies, savory pies, pot pies, and hand pies.
- The dough can be made ahead and refrigerated or frozen.
- It is flaky, buttery, and sturdy enough to hold juicy fillings.
Helpful Tools For Pie Crust
You do not need a lot of fancy tools to make homemade pie crust, but a few basics make the process much easier. A food processor helps cut the cold butter into the flour quickly, which is what makes this recipe so simple. A sturdy rolling pin, 9-inch pie plate, and pie weights are also helpful when rolling, shaping, and blind baking your crust. I also like having a bench scraper nearby for lifting and moving the dough without warming it too much with my hands.
Why Use a Food Processor to Make the Perfect Pie Crust?
It takes all the guess work out of mixing. The blades work quickly to cut cold butter into the flour before it starts to melt, and it only takes a few pulses to bring everything together. That means less handling, less fuss, and more consistent results.
Ingredients for the Perfect Pie Crust
- 2 ½ cups all-purpose flour, divided
- 1 teaspoon salt
- 1 tablespoon sugar (optional, but nice for the sweet pies…no need to add it for savory pies)
- 1 cup (2 sticks) unsalted butter, very cold and cut into cubes
- 1/4 cup ice water (you may not need all of it)
Instructions for the Perfect Pie Crust
In your food processor, combine 1 1/2 cups of the flour, salt, and sugar. Pulse a few times to mix.
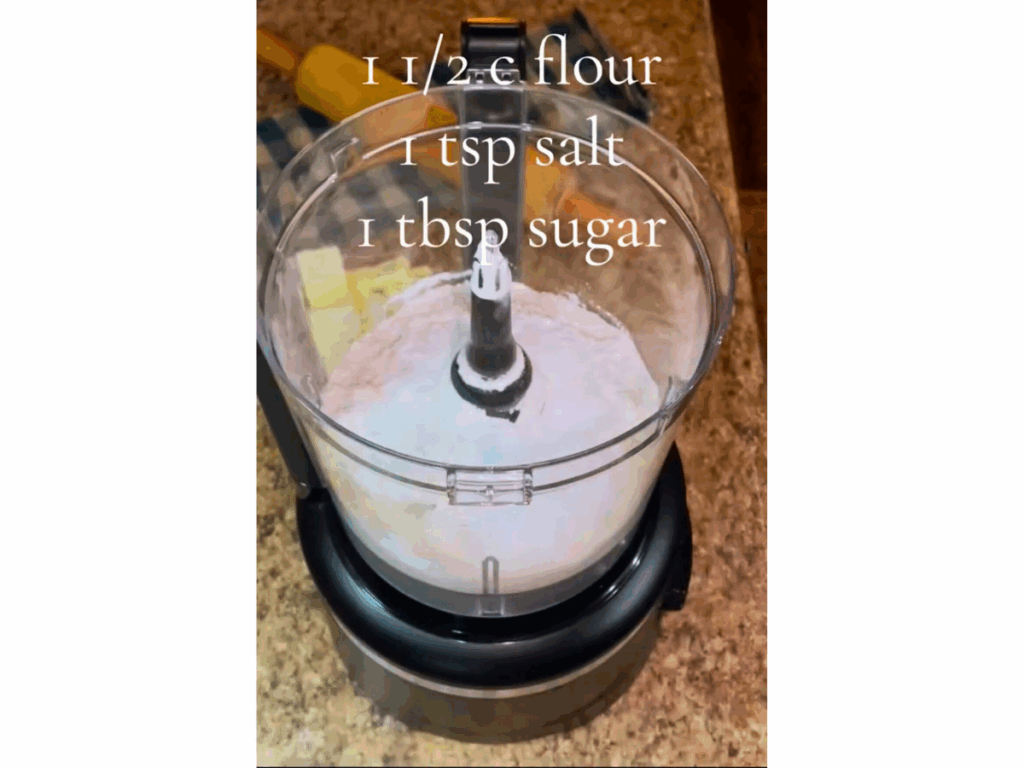
Scatter the cold butter cubes over the flour mixture. Pulse several times until the butter is broken down and the mixture starts to clump together.

Add the remaining 1 cup of flour and pulse a few times, just until the mixture looks crumbly with small pieces of butter throughout.

Add cold water. Pulse until the dough comes together when pinched between your fingers. It should still look a bit crumbly in the bowl – don’t wait for it to form a full ball.


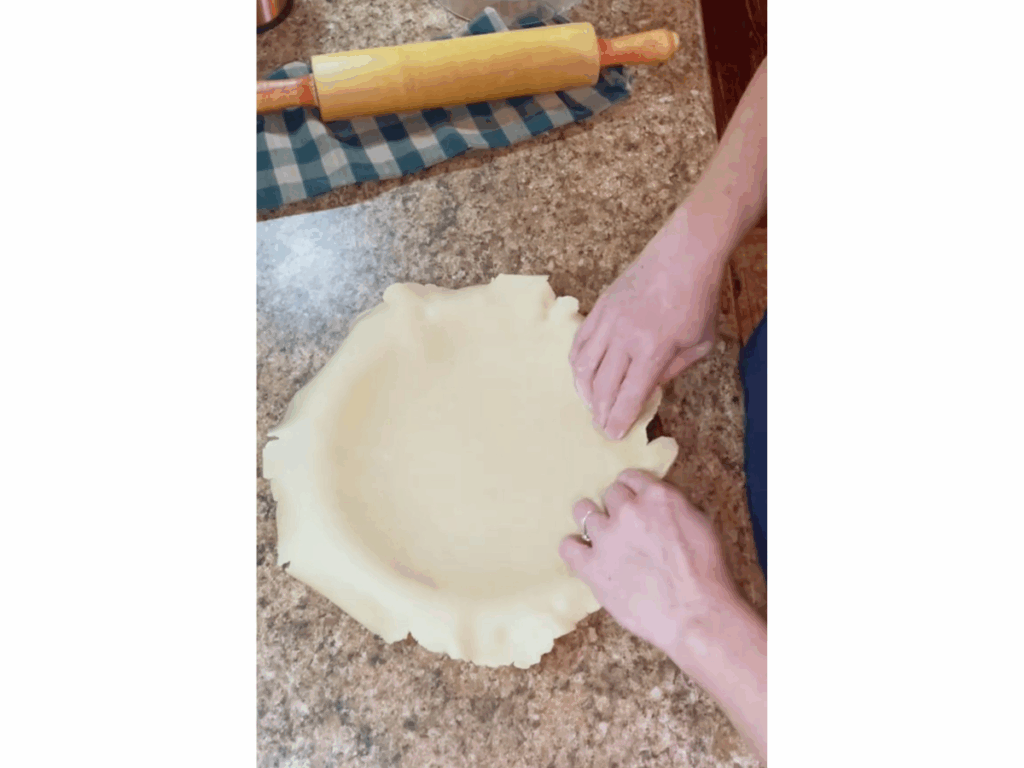
Dump the dough onto a clean surface and press it together with your hands (just enough to hold it). Divide it in half, form each half into a disc, wrap tightly in plastic or beeswax wrap, and refrigerate for at least an hour (or up to 2 days).

How the Pie Dough Should Look
After the butter is pulsed into the first portion of flour, the mixture should look clumpy and slightly pasty. This step coats the butter with flour and helps create a tender crust.
After the remaining flour is added, the mixture should look more crumbly with small bits of butter throughout. Once the ice water goes in, do not wait for the dough to form a ball in the food processor. The dough is ready when it holds together when pinched between your fingers.
If the dough feels dry and falls apart, add a little more ice water, 1 teaspoon at a time. If it feels sticky or greasy, it may have been mixed too long or the butter may have gotten too warm.
Tips for Perfect Pie Crust
- Make sure your butter is really cold. I cut mine up and stick it in the freezer for 5 minutes before starting.
- Don’t overmix once the water goes in. Pulse just enough to bring it together.
- You can freeze the wrapped dough for up to 3 months. Just thaw it in the fridge overnight before using.
What to Make with the Perfect Pie Crust
This perfect pie crust works beautifully for basically any pie.
- Strawberry Rhubarb Pie
- Classic Blueberry Pie
- Cherry Pie
- Caramel Apple Pie
- Savory Pies (chicken pot pie)
Frequently Asked Questions
Why is my pie crust tough?
Pie crust can become tough if the dough is overmixed or handled too much after the water is added. Pulse only until the dough holds together when pinched, then press it together gently by hand.
Why is my pie crust shrinking?
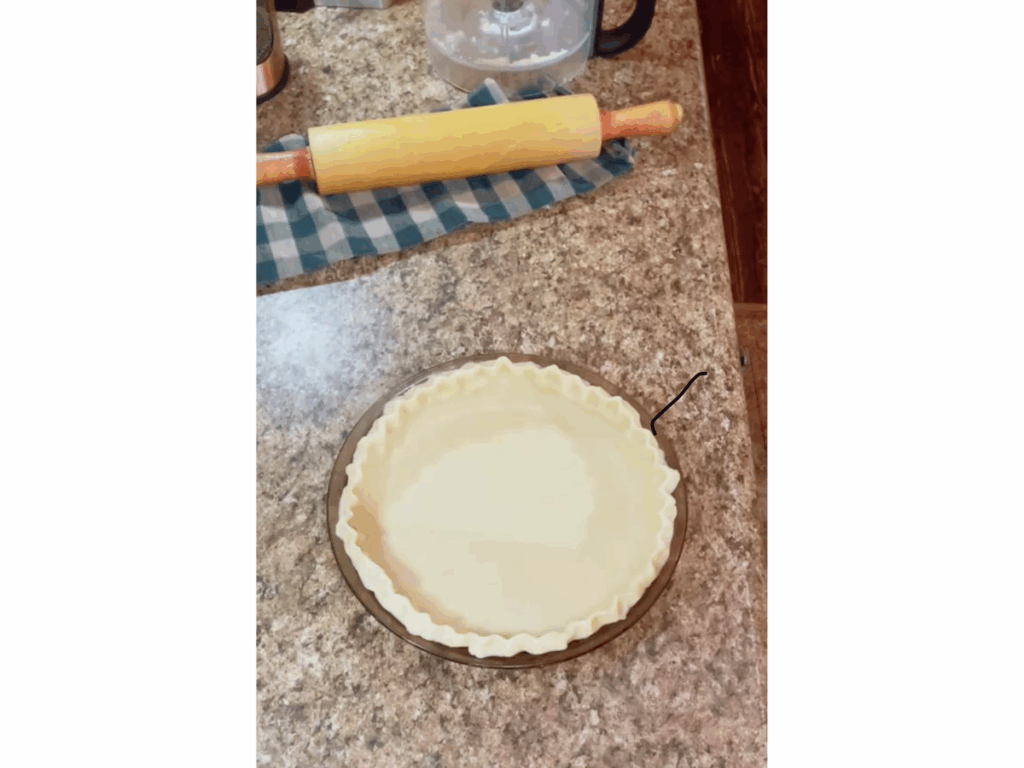
Shrinking usually happens when the dough has been stretched while rolling or when it has not chilled long enough. Roll gently, fit it into the pie plate without pulling, and chill the shaped crust before baking.
Can I freeze pie dough?
Yes. Wrap the dough discs tightly and freeze for up to 3 months. Thaw overnight in the refrigerator before rolling.
Do I need to blind bake this crust?
Blind bake the crust for cream pies, custard pies, and no-bake fillings. For fruit pies or double-crust pies, you usually do not need to blind bake unless the recipe says to.

How to Make Perfect Pie Crust in a Food Processor
Ingredients
Method
- In your food processor, combine 1 1/2 cups of the flour, salt, and sugar. Pulse a few times to mix.
- Scatter the cold butter cubes over the flour mixture. Pulse several times until the butter is broken down and the mixture starts to clump together.
- Add the remaining 1 cup of flour and pulse a few times, just until the mixture looks crumbly with small pieces of butter throughout.
- Add cold water. Pulse until the dough comes together when pinched between your fingers. It should still look a bit crumbly in the bowl – don't wait for it to form a full ball.
- Dump the dough onto a clean surface and press it together with your hands (just enough to hold it). Divide it in half, form each half into a disc, wrap tightly in plastic or beeswax wrap, and refrigerate for at least an hour (or up to 2 days).
Notes
- For best results, keep the butter and water very cold. I like to cube the butter and chill it in the freezer for 5 to 10 minutes before starting.
- Do not wait for the dough to form a smooth ball in the food processor. It should still look crumbly but hold together when pinched.
- If the dough is too dry, add more ice water 1 teaspoon at a time. If it feels sticky or greasy, chill it before rolling.
- This recipe makes enough dough for one double-crust pie or two single-crust pies.
- Refrigerate the wrapped dough for at least 1 hour before rolling. Dough can be refrigerated for up to 2 days or frozen for up to 3 months.
Want a filling that tastes just like summer in jar? Try my homemade canned cherry pie filling. Its sweet, tart, and made to go with this perfect pie crust.




looks easy, going to have to try it
Thank you! I hope you give it a try and enjoy every bite!