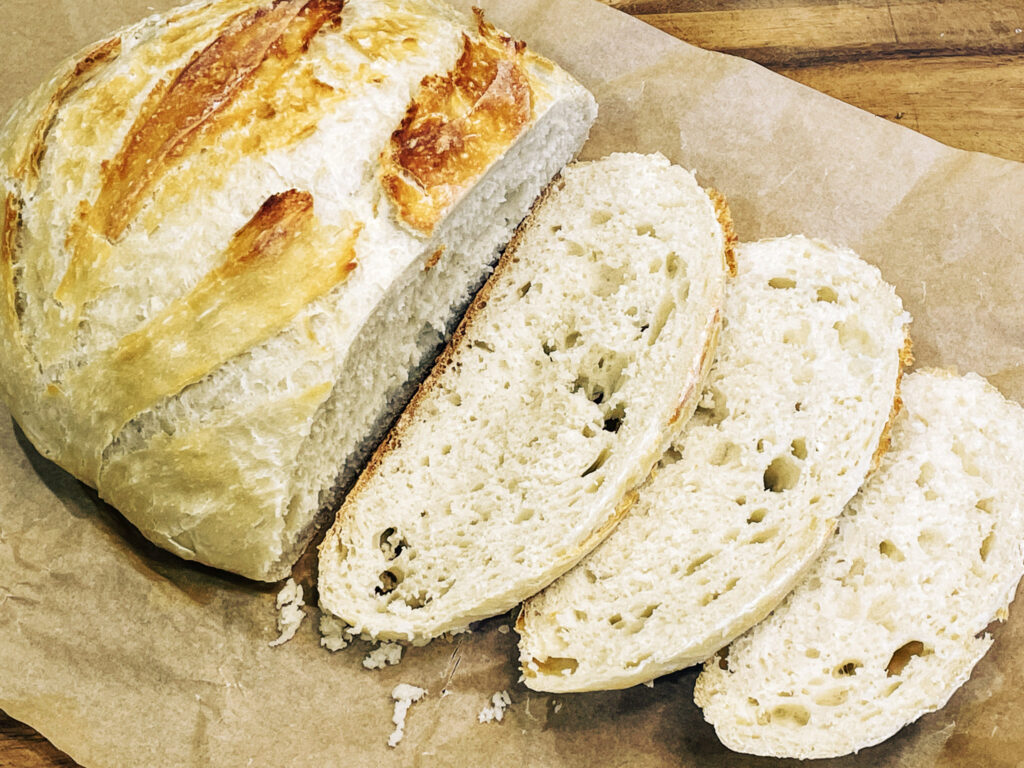
Easy Dutch Oven Bread
If you want to make homemade bread without kneading, special tools, or complicated steps, this Dutch oven bread is the recipe to start with. It uses just four basic ingredients and relies on time, not effort, to create a crusty, bakery-style loaf at home.
This post is your complete guide to no-knead Dutch oven bread. I’ll walk you through the recipe, explain why it works, troubleshoot common issues, and share variations you can try once you’re comfortable.
TL;DR:
This easy Dutch oven bread uses 4 ingredients and no kneading. Mix the dough, let it rest for 3 hours, then bake it in a hot Dutch oven for a crisp crust and soft interior. Perfect for beginners.
Why Dutch Oven Bread Is So Popular
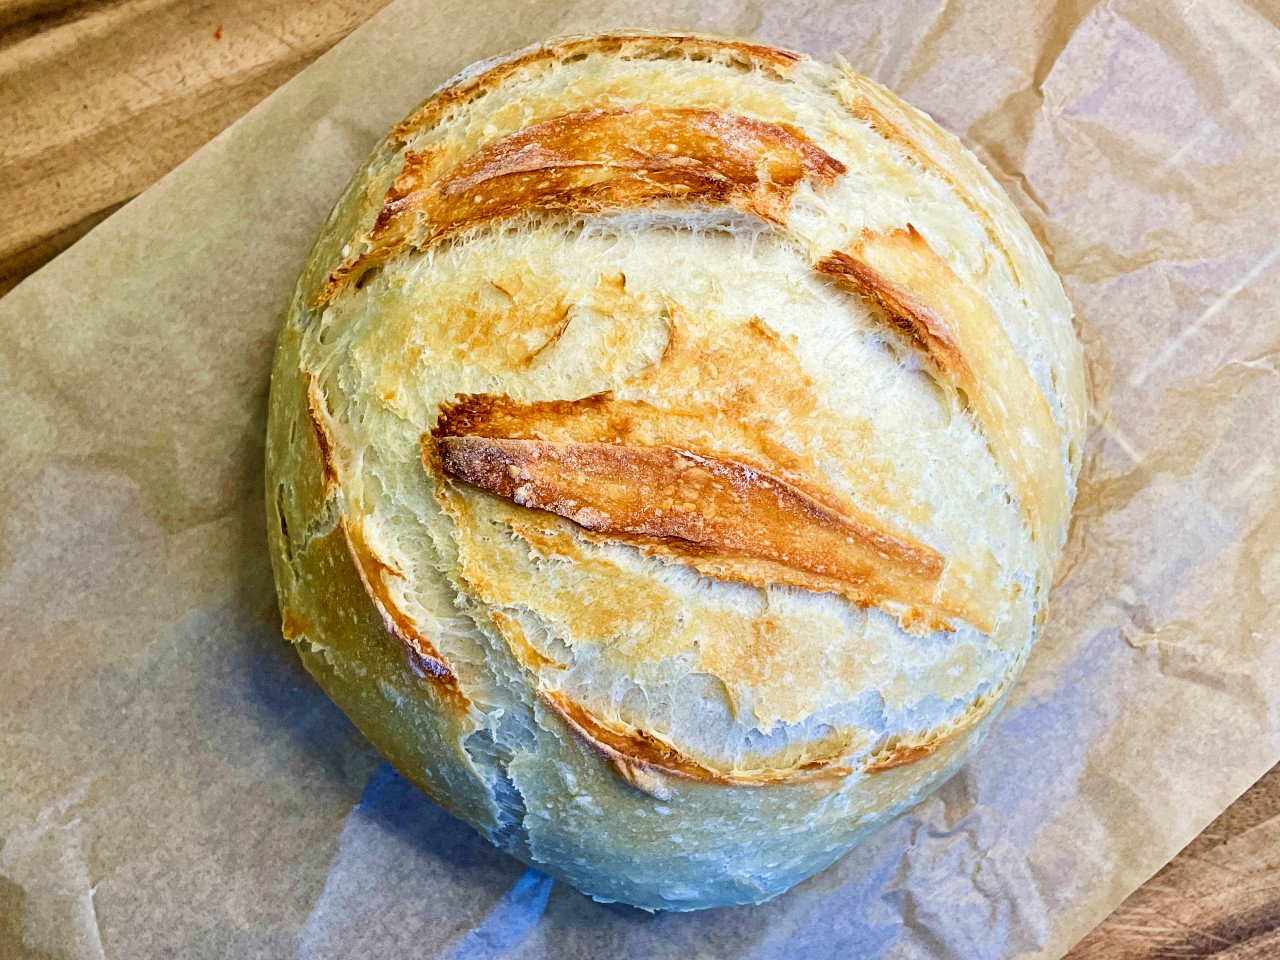
Dutch oven bread became popular because it makes professional-style bread accessible at home. The heavy pot traps steam during baking, which allows the bread to rise properly and develop a crisp, crackly crust.
No kneading is needed because the long rest time allows gluten to form naturally. This makes the recipe forgiving and beginner-friendly.
The 4 Ingredients That Make It Work
- Flour: All-purpose flour works beautifully here.
- Salt: Adds flavor and strengthens the dough.
- Instant yeast: Reliable and easy to use.
- Warm water: Hydrates the dough and activates the yeast.
That’s it. No sugar, oil, or eggs required.
Easy No-Knead Dutch Oven Bread Recipe
Ingredients
- 4 cups all-purpose flour
- 2 teaspoons salt
- 2 teaspoons instant yeast
- 2 cups warm water
Instructions
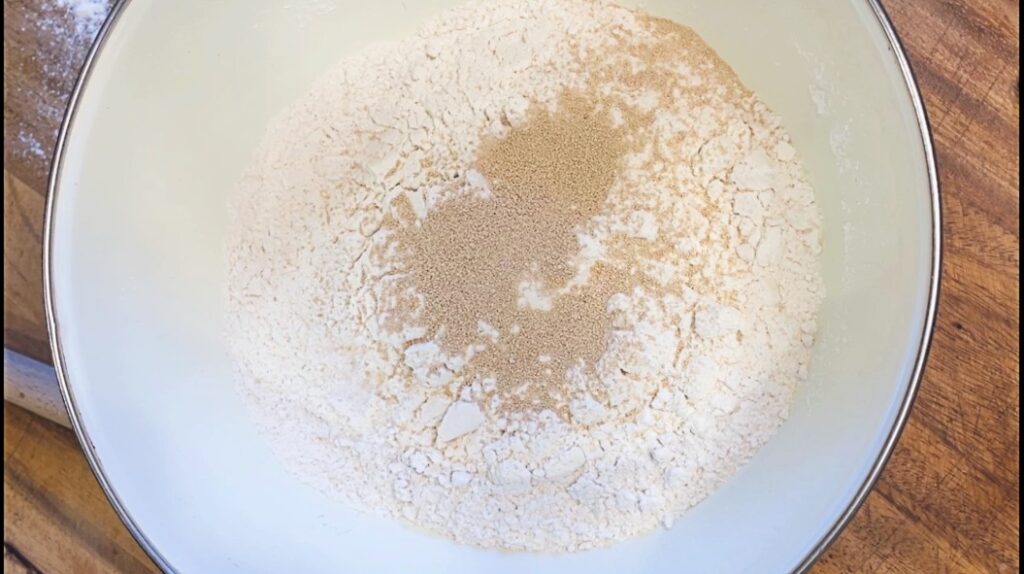
In a large bowl, mix flour, salt, and instant yeast.
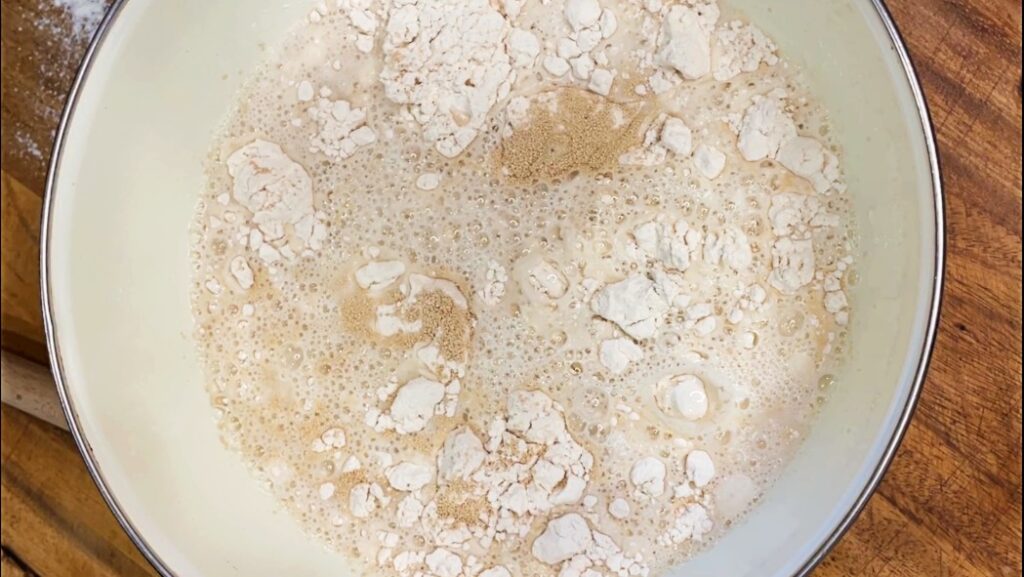
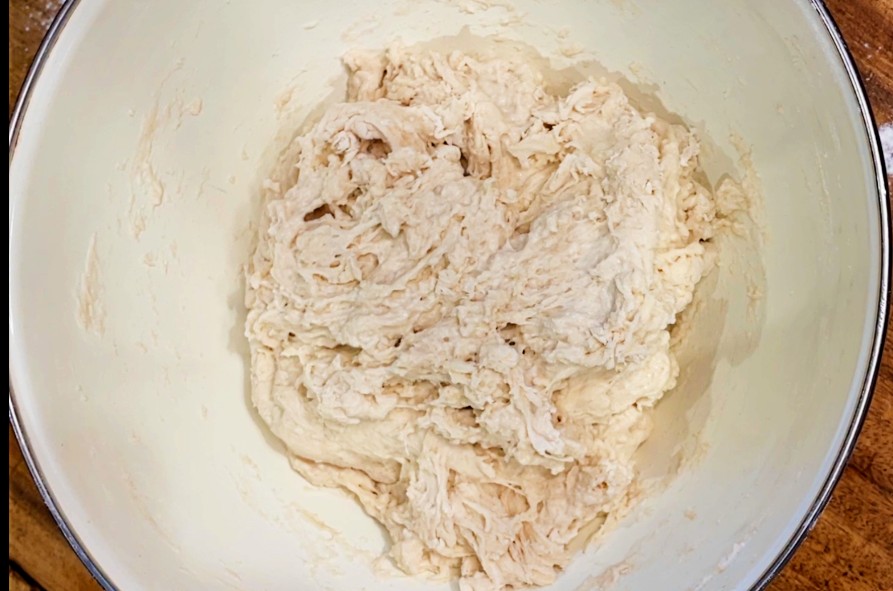
Add warm water and stir until a shaggy dough forms.
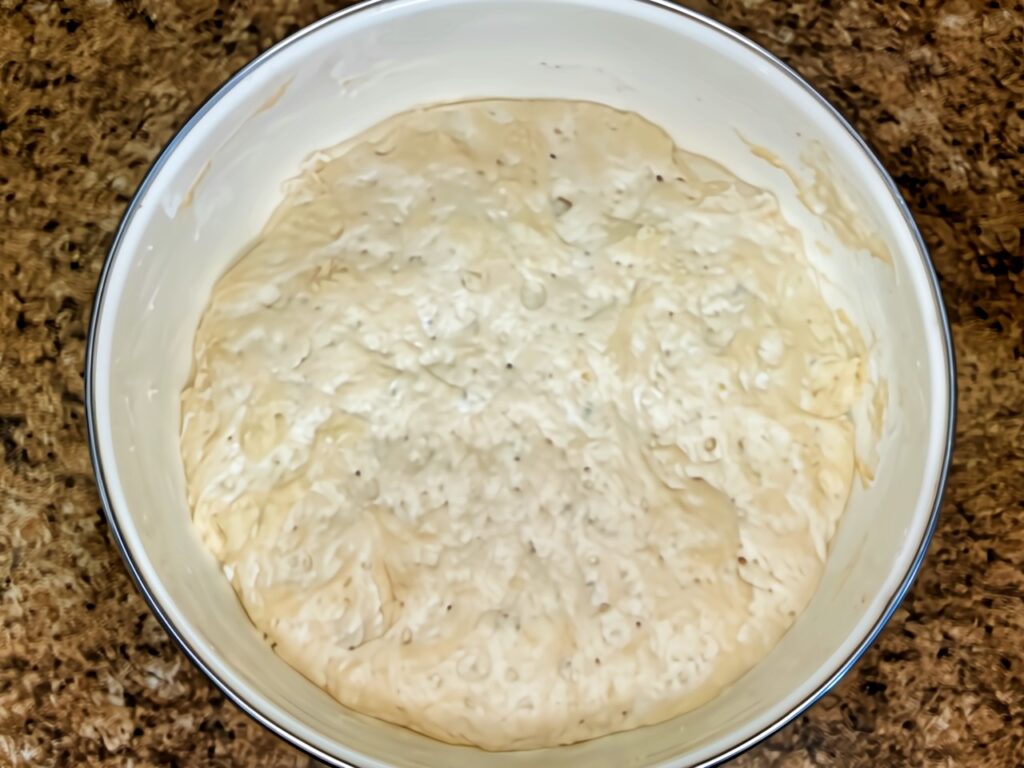
Cover with a bowl cover or tea towel and let rest at room temperature for 3 hours.
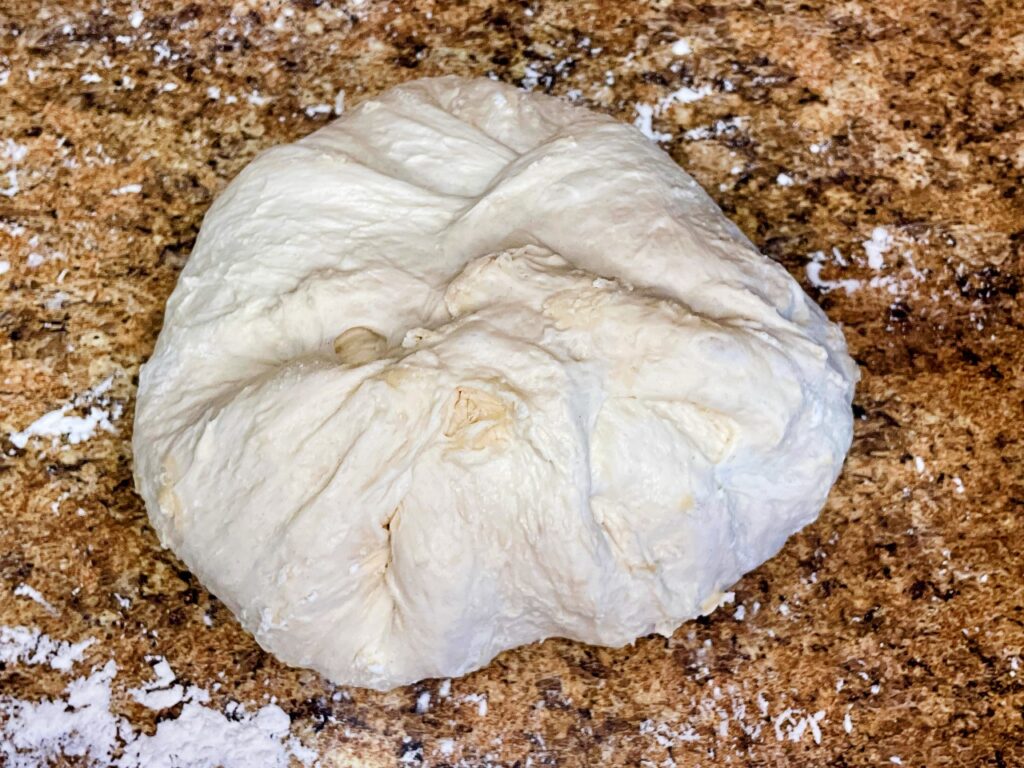
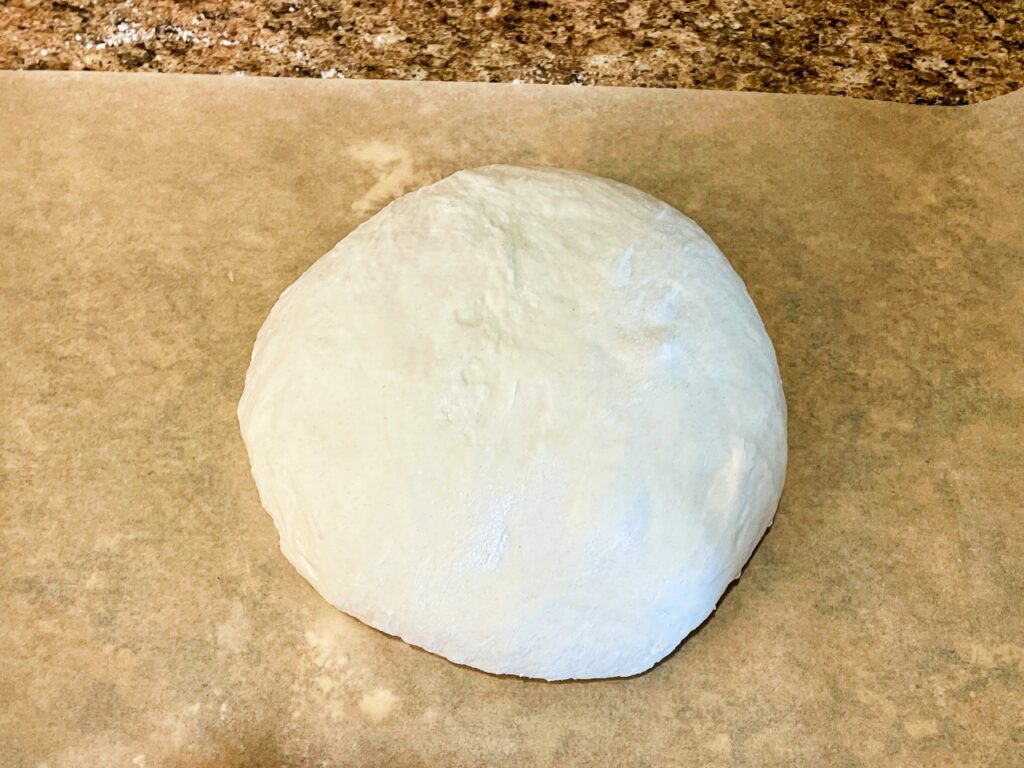
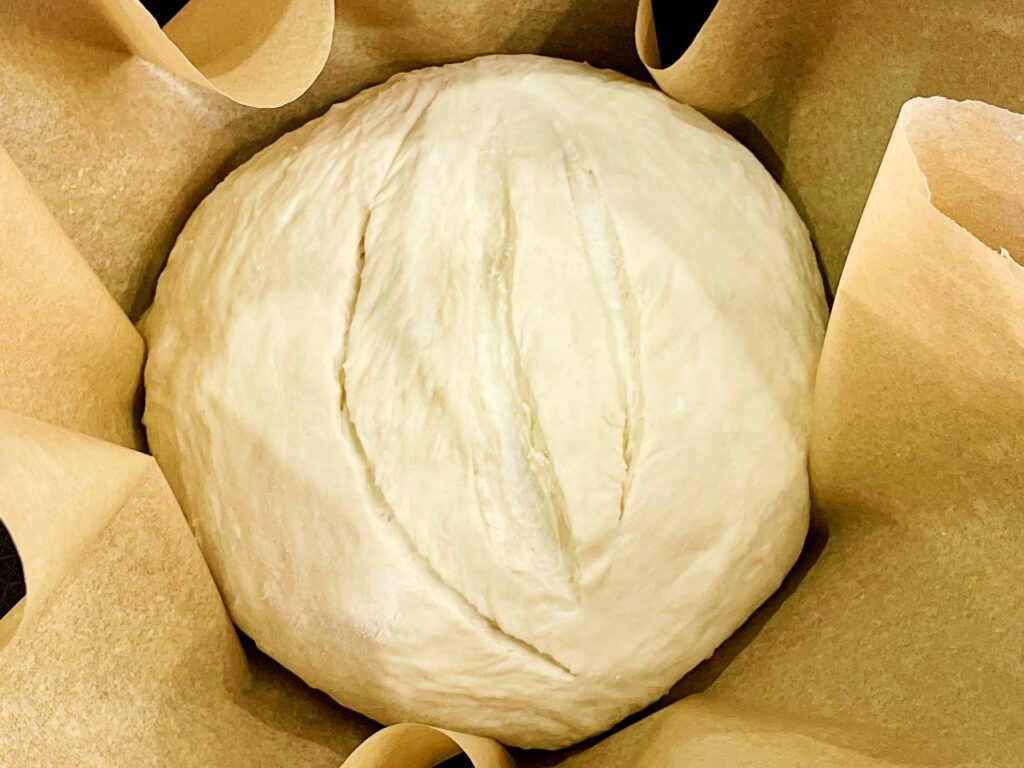
Turn the dough onto a floured surface and gently shape into a ball.
Place a Dutch oven with the lid on into a cold oven and preheat to 450°F.
Carefully place the dough into the hot Dutch oven.
Bake covered for 30 minutes.
Remove the lid and bake for another 12 minutes until deeply golden.
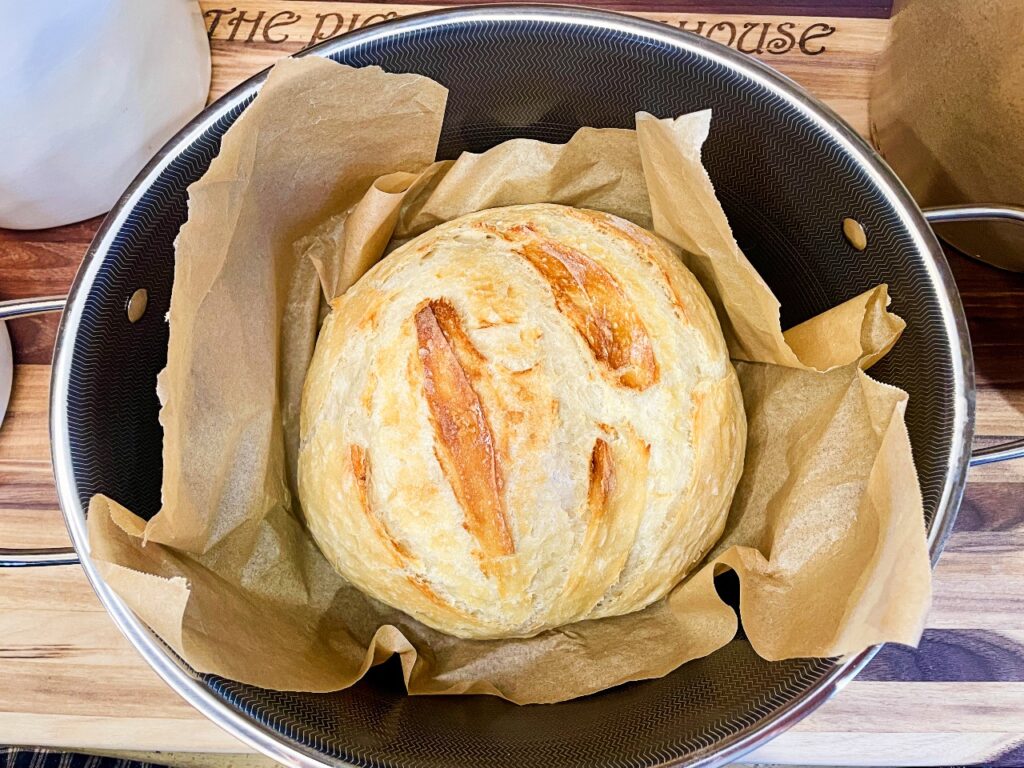
Remove and cool slightly before slicing.
What “Shaggy Dough” Actually Means
Shaggy dough looks rough, sticky, and uneven. It will not look smooth or elastic after mixing, and that’s normal. Resist the urge to add more flour. A wetter dough creates a lighter crumb and better rise.
Why This Bread Doesn’t Need Kneading
Traditional kneading forces gluten development. In no-knead bread, time does the work instead. During the 3-hour rest, the flour fully hydrates and gluten strands form naturally.
This is why the recipe is so forgiving and beginner-friendly.
How This Bread Is Similar to Sourdough (But Much Easier)
This Dutch oven bread has a lot in common with a traditional sourdough loaf, a crisp, crackly crust, an airy interior, and that rustic bakery-style look. The biggest difference is that this recipe uses commercial yeast instead of a sourdough starter, which makes it faster and more predictable.
If you love the look of sourdough bread but you aren’t quite ready to maintain a starter, this recipe is a great place to begin. It helps you get comfortable working with high-hydration dough and long rest times, which are both key parts of sourdough baking.
Dutch Oven Bread Troubleshooting
My dough is very sticky
That’s expected. Use floured hands or a bench scraper when shaping.
My bread is pale
Bake uncovered a few extra minutes. Every oven is slightly different.
My loaf is dense
Possible causes include old yeast, water that was too hot, or cutting the bread before it cooled.
Variations You Can Try
- Garlic & Herb: Add dried herbs to the flour.
- Seeded Bread: Sprinkle seeds on top before baking.
- Whole Wheat: Replace up to 1 cup of flour with whole wheat flour.
What to Serve With Dutch Oven Bread
- Soups and stews
- Chili
- Butter and honey
- Toasted with jam
- Sandwiches the next day

How to Store Homemade Bread
Store bread at room temperature, loosely wrapped, for up to 2 days. For longer storage, slice and freeze. Toast straight from frozen as needed.
Easy Dutch Oven Bread (No Knead)
Ingredients
Method
- In a large bowl, mix flour, salt, and instant yeast.
- Add warm water and stir until a shaggy dough forms.
- Cover and let rest at room temperature for 3 hours.
- Turn dough onto a floured surface and gently shape into a ball.
- Place a Dutch oven with lid into a cold oven and preheat to 450°F.
- Carefully transfer dough into the hot Dutch oven.
- Bake covered for 30 minutes.
- Remove lid and bake for 12 more minutes until golden brown.
Notes
Frequently Asked Questions
Why is my dough so sticky?
This is a high-hydration dough. Stickiness is normal and helps create an airy crumb.
Do I need to grease the Dutch oven?
No, but parchment paper makes transferring the dough easier.
Can I let it rise longer than 3 hours?
Yes. A slightly longer rise won’t hurt and can improve flavor.
Can I use bread flour instead?
Yes, but all-purpose flour works perfectly for this recipe.