If you’ve ever looked at a burger and thought, this deserves a better bun, you’re in the right place.
These homemade hamburger buns are soft, lightly sweet, and sturdy enough to hold a juicy burger without falling apart. No fancy ingredients. No complicated steps. Just a simple dough that comes together easily and bakes up golden and fluffy in minutes.
Once you make these, store-bought buns are going to feel like a letdown. You’ve been warned.
If you’re new to baking bread, you might also love my easy Dutch oven bread recipe for a crusty, bakery-style loaf.
Why You’ll Love These Homemade Hamburger Buns
- Soft and pillowy with just the right chew
- Easy enough for a weeknight dinner
- Made with pantry staples
- Ready faster than you’d think
- Perfect for burgers, pulled pork, or breakfast sandwiches
This is one of those recipes you make once, then keep coming back to because it just works.
Ingredients You’ll Need
You don’t need anything fancy here. If you bake bread at all, you probably already have everything on hand.
- 2 tablespoons yeast
- 1 cup warm water
- 1/4 cup sugar
- 1/3 cup olive oil
- 1 egg
- 1 teaspoon salt
- 3 cups all-purpose flour
How to Make Homemade Hamburger Buns
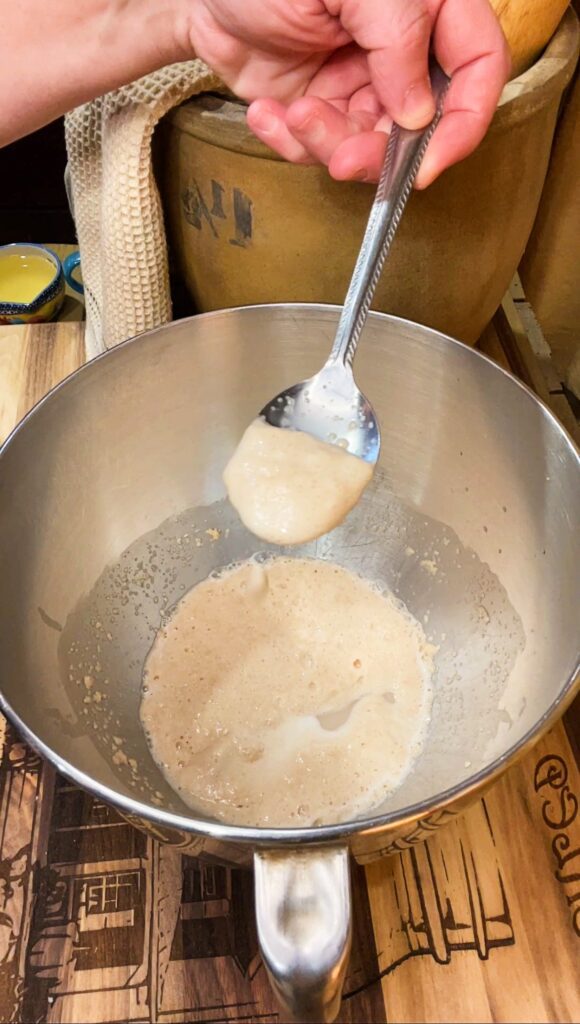
Bloom the Yeast – In a large bowl, combine the warm water, sugar, and yeast. Let it sit for a few minutes until foamy. If it looks bubbly and alive, you’re good to go.
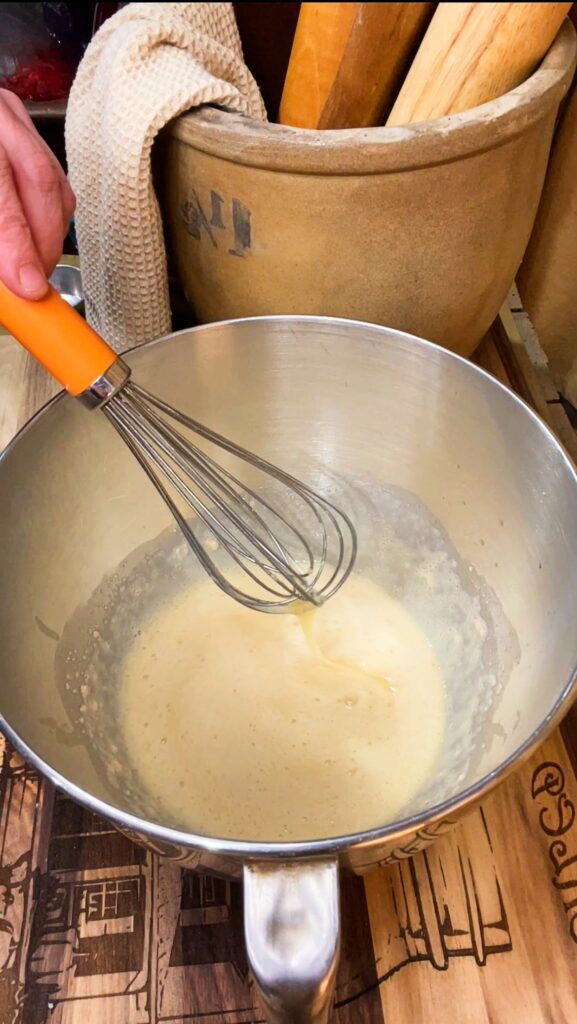
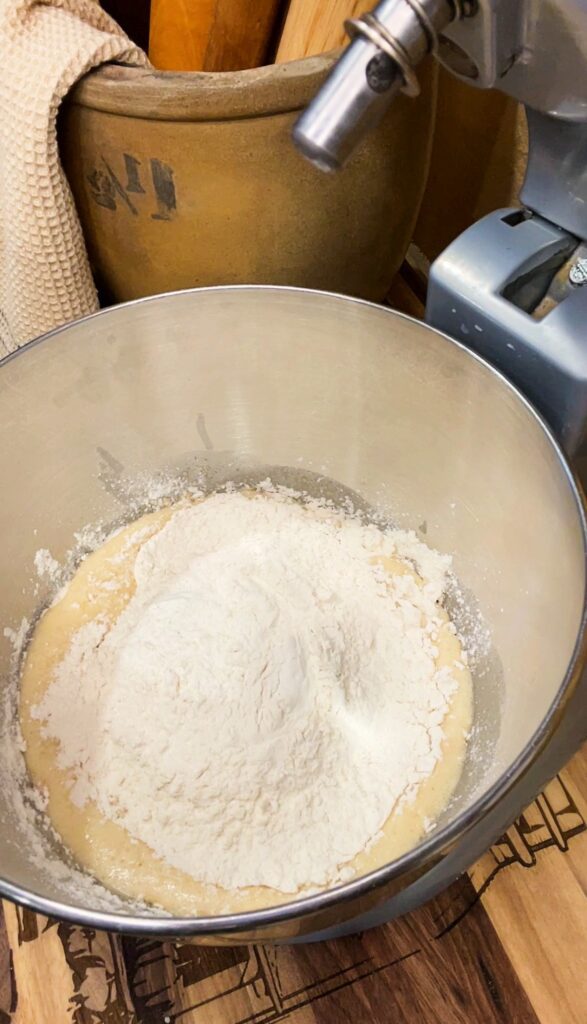
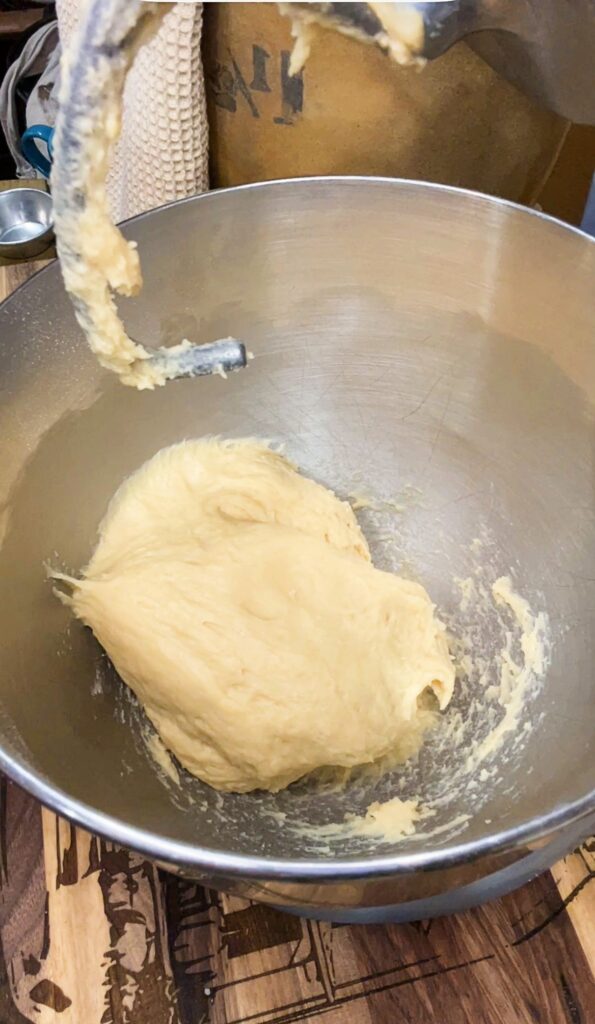
Mix the Dough – Add the olive oil, egg, salt, and flour. Mix until a soft dough forms. It should be slightly tacky but not sticky.
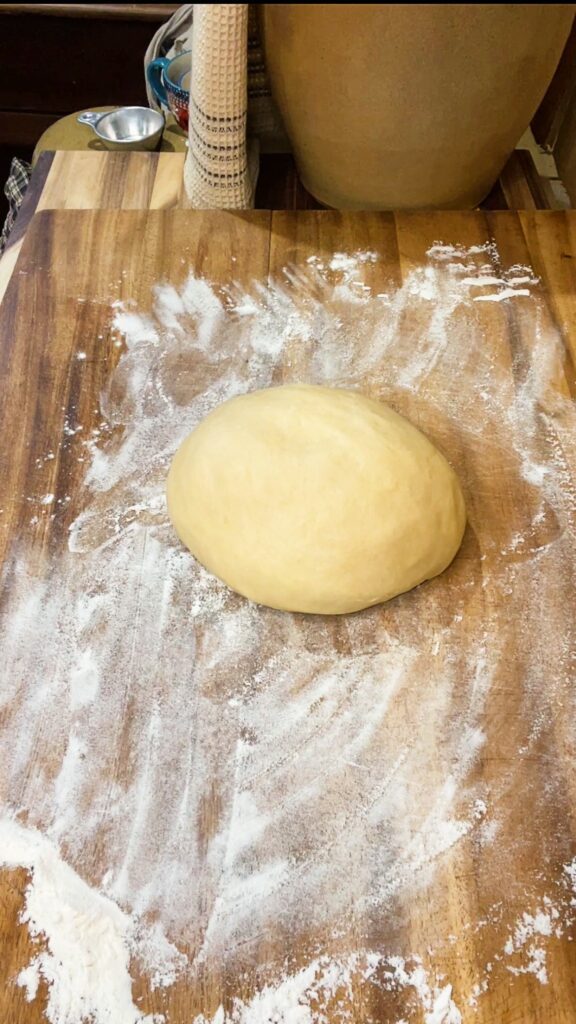
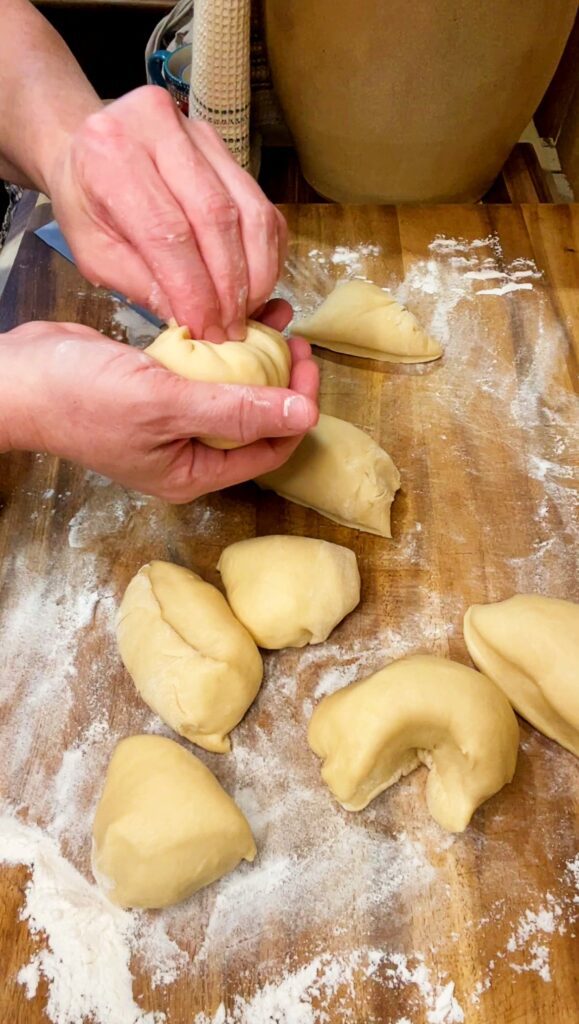
Shape the Dough – Turn the dough out onto a clean surface and gently form it into a ball. No heavy kneading needed here.
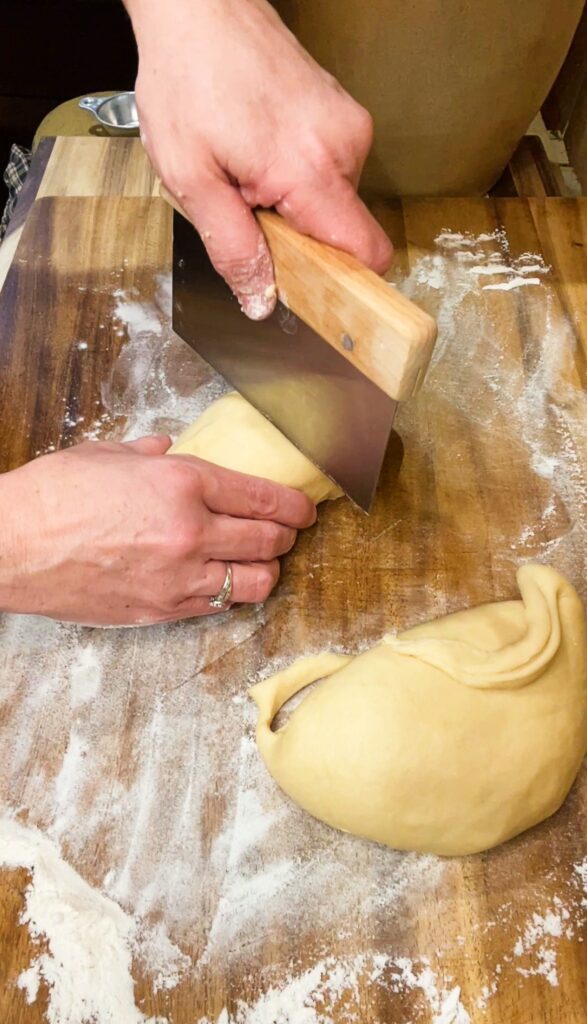
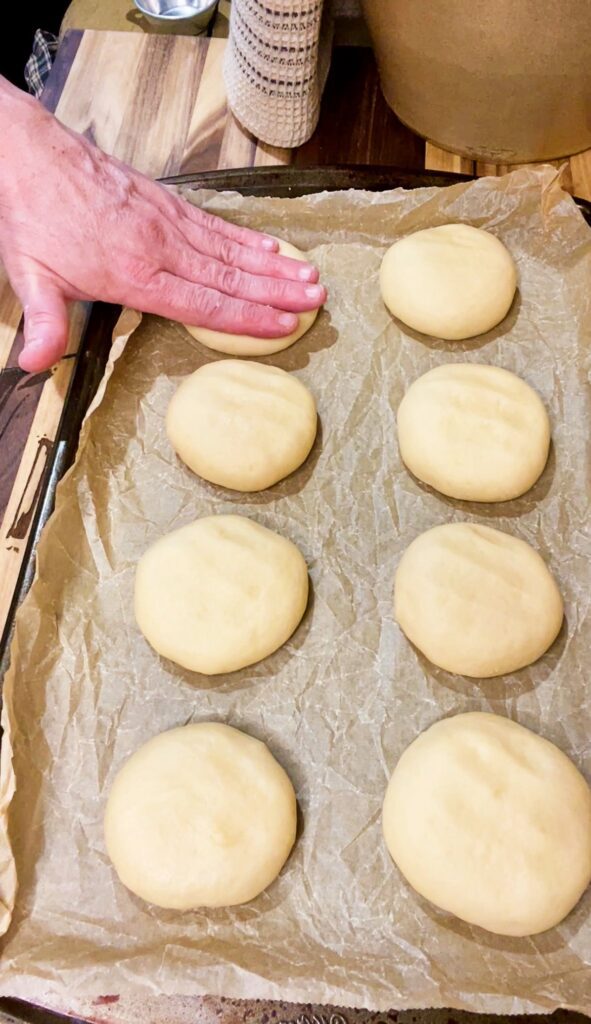
Divide and Roll – Cut the dough into 8 equal pieces. Roll each piece into a smooth ball and place them on a lined baking sheet.
Flatten Slightly – Gently press each dough ball down just a bit. This helps them bake up into that classic bun shape instead of turning into dinner rolls.
Let Them Rise – Cover the pan and let the buns rise until doubled in size. This usually takes about 30 to 45 minutes, depending on your kitchen.

Bake – Bake at 425°F for 8 to 10 minutes, until the tops are lightly golden.
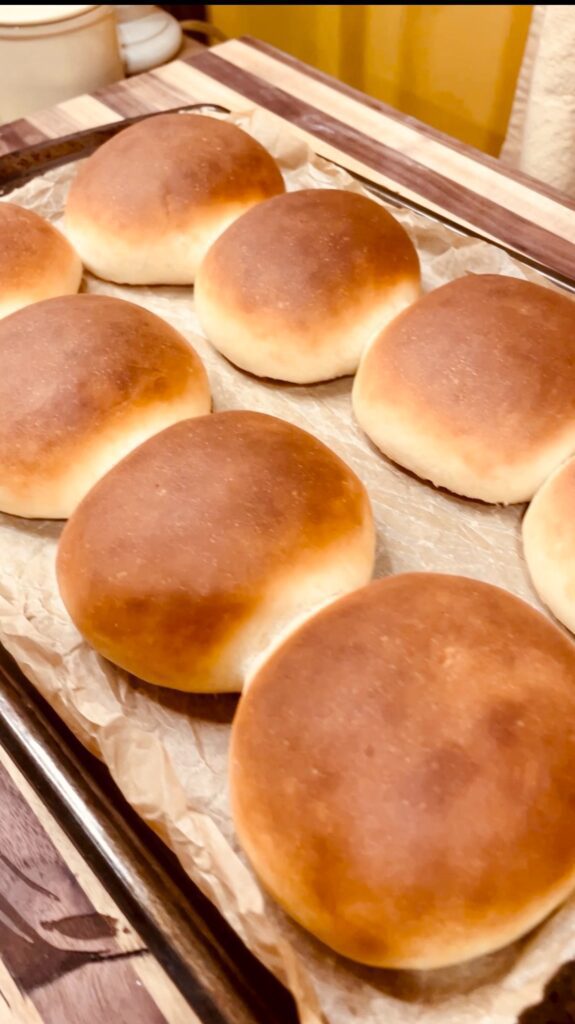
Let them cool slightly before slicing. Try not to cut into one immediately. Or do. I won’t judge.
Tips for Perfect Hamburger Buns Every Time
- Warm water should feel like bath water, not hot
- If your dough feels too dry, add a tablespoon of water at a time
- For a shinier top, brush with melted butter right after baking
- These freeze beautifully once cooled
How to Store Homemade Hamburger Buns
- Store at room temperature for up to 2 days in an airtight container
- Refrigerate for up to 5 days
- Freeze for up to 3 months
To freeze, slice them first so they’re ready to grab and toast.
Serving Ideas
These buns aren’t just for burgers.
- Smash burgers or cheeseburgers
- Pulled pork or sloppy joes
- Crispy chicken sandwiches
- Breakfast sandwiches with egg and bacon
They’re soft enough for breakfast, sturdy enough for dinner, and just plain good.
Final Thoughts
Homemade hamburger buns might sound extra, but once you try them, you’ll realize how simple they actually are. This is the kind of recipe that makes a regular meal feel special without adding stress.
If you make these, I’d love to know how you used them. And if your first batch isn’t perfect, that’s okay. Every baker has a learning loaf… or bun.
Save this one. You’ll be back.

Soft Homemade Hamburger Buns
Ingredients
Method
- Bloom the Yeast – In a large bowl, combine the warm water, sugar, and yeast. Let it sit for a few minutes until foamy. If it looks bubbly and alive, you’re good to go.
- Mix the Dough – Add the olive oil, egg, salt, and flour. Mix until a soft dough forms. It should be slightly tacky but not sticky.
- Shape the Dough – Turn the dough out onto a clean surface and gently form it into a ball. No heavy kneading needed here.
- Divide and Roll – Cut the dough into 8 equal pieces. Roll each piece into a smooth ball and place them on a lined baking sheet.
- Flatten Slightly – Gently press each dough ball down just a bit. This helps them bake up into that classic bun shape instead of turning into dinner rolls.
- Let Them Rise – Cover the pan and let the buns rise until doubled in size. This usually takes about 30 to 45 minutes, depending on your kitchen.
- Bake – Bake at 425°F for 8 to 10 minutes, until the tops are lightly golden.
- Let them cool slightly before slicing.
Frequently Asked Questions
How do I know if my yeast is active?
After mixing the yeast with warm water and sugar, it should become foamy within 5 minutes. If nothing happens, your yeast may be expired or the water may have been too hot or too cold.
Can I make these hamburger buns ahead of time?
Yes. You can bake the buns a day in advance and store them in an airtight container at room temperature. For longer storage, freeze them once fully cooled and thaw as needed.
Can I use instant yeast instead of active dry yeast?
Yes. If using instant yeast, you can mix it directly with the dry ingredients and skip the blooming step. The rise time should be about the same.
Why didn’t my hamburger buns rise properly?
This is usually caused by inactive yeast, water that was too hot, or a cold kitchen. If your kitchen runs cool, let the dough rise in a slightly warm oven (turn the oven on for 1 minute, then turn it off before placing the dough inside).
Can I brush the tops before baking?
Absolutely. For a golden, bakery-style finish, brush the tops with an egg wash before baking. For a softer finish, brush with melted butter right after they come out of the oven.
Can I make these without sugar?
The sugar helps activate the yeast and gives the hamburger buns a slight sweetness. You can reduce it slightly, but removing it completely may affect both texture and rise.

Hi, I’m Renee. I’m a farmer’s wife, a mom of two, and an introvert with the occasional burst of extrovert energy. Most days you’ll find me in the kitchen surrounded by flour, jars, or something bubbling away on the stove. I love the rhythm of the seasons, the coziness of home, and finding joy in the little things (like the first cup of coffee or fresh bread still warm from the oven).
The Pickled Farmhouse is where I share those little bits of life. From recipes inspired by the harvest, handmade touches, and cozy traditions that make home feel special. It’s not perfect, it’s not fancy, but it’s warm, welcoming, and full of heart…kind of like me.