How to Make a Sourdough Starter from Scratch (Beginner Friendly)
If you have ever wanted to try sourdough but felt completely overwhelmed, you are not alone. I put off a sourdough starter for years because everyone made it sound fragile, fussy, and easy to mess up. The truth is much simpler than the internet makes it seem.
Sourdough is slow. That is really the biggest difference from regular baking. It is not harder. It just asks for a little patience and a little trust. Once I finally stuck with it and understood what was actually happening in the jar, it stopped feeling intimidating pretty quickly.
This guide is for people who are brand new to sourdough. No fancy tools. No perfect schedule. No pressure to do everything “the right way.” Just a simple, daily sourdough starter feeding method that helps your starter get strong and reliable. Once your sourdough starter is well established, you can absolutely switch to a lower maintenance routine, and I will walk you through that later.
If you can stir flour and water together, you can do this.
What Is a Sourdough Starter?
A sourdough starter is just flour and water that has been fed often enough for natural yeast to grow. That yeast is what makes bread rise. You are not adding anything special. You are simply giving the yeast already present in the flour and air a place to live.
At first, it looks like nothing is happening. Then it smells a little strange. Then it starts bubbling. All of that is normal. Sourdough starters are much more forgiving that they get credit for.
Tools You Need To Start a Sourdough Starter
Disclosure: This post may contain affiliate links. As an Amazon Associate, I earn from qualifying purchases.
You do not need a sourdough shopping spree to get started. Here is all your actually need:
Flour
All purpose (unbleached) flour works just fine. You do not need bread flour or specialty blends to begin. Once your sourdough starter is strong, you can experiment if you want.
Water
Tap water is usually fine. If your tap water smells strongly of chlorine, let it sit out for a few hours before using it.
A Jar or Container
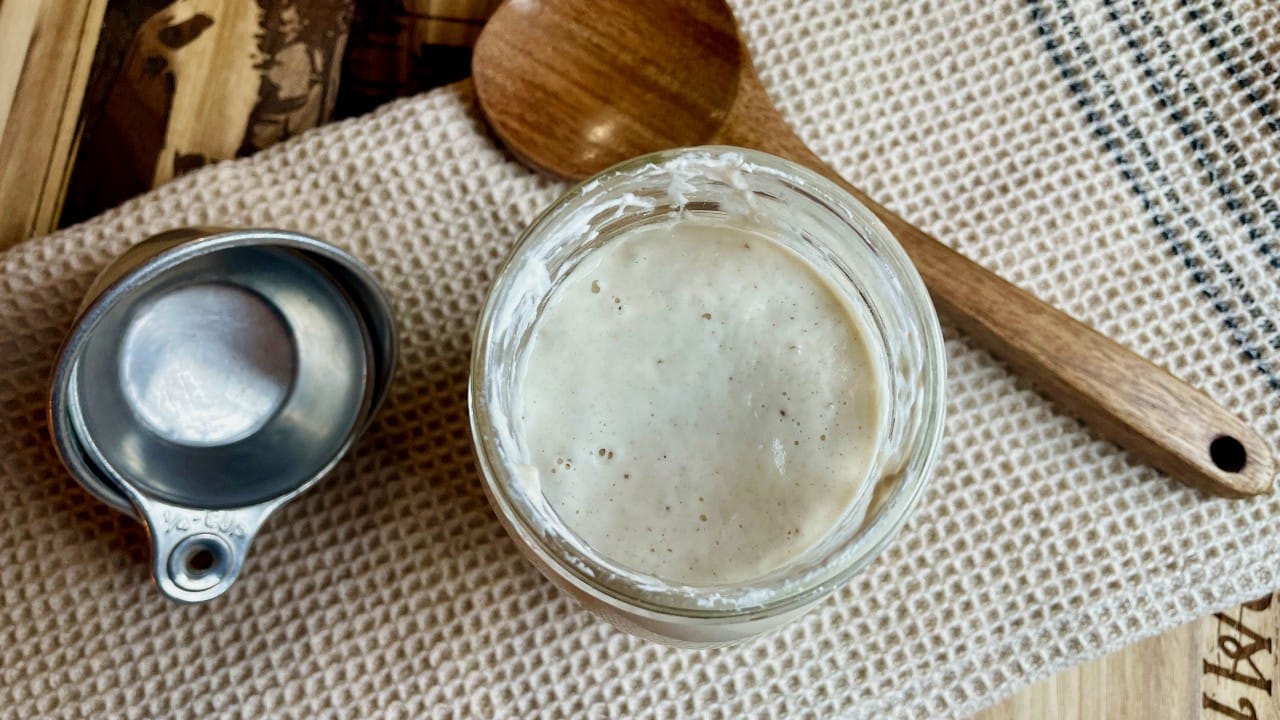
A glass jar, mason jar, or even a small bowl works. Aim for something that holds at least 3 to 4 cups so your sourdough starter has room to grow. I like using a simple wide-mouth glass jar so it’s easy to stir and easy to see when the starter rises.
Something to Stir With
A spoon or spatula is perfect. Nothing fancy. A small silicone spatula makes it easier to scrape down the sides.
A Loose Cover
You want air flow but you don’t want anything getting in. A paper towel, clean cloth, or the jar lid set loosely on top works well. I sew little jar covers for mine. Do not seal it tight.
Measuring Cups (or a Scale if You Prefer)
Since this is a scale-free method, simple measuring cups work just fine here. If you prefer using a kitchen scale, I will include weight measurements in parentheses throughout the recipe.
You do not need a thermometer, proofing box, special jars, or daily temperature monitoring. Those things can come later if you want. For now, simple is best.
Day 1: Mix and Walk Away
This is the easiest day.
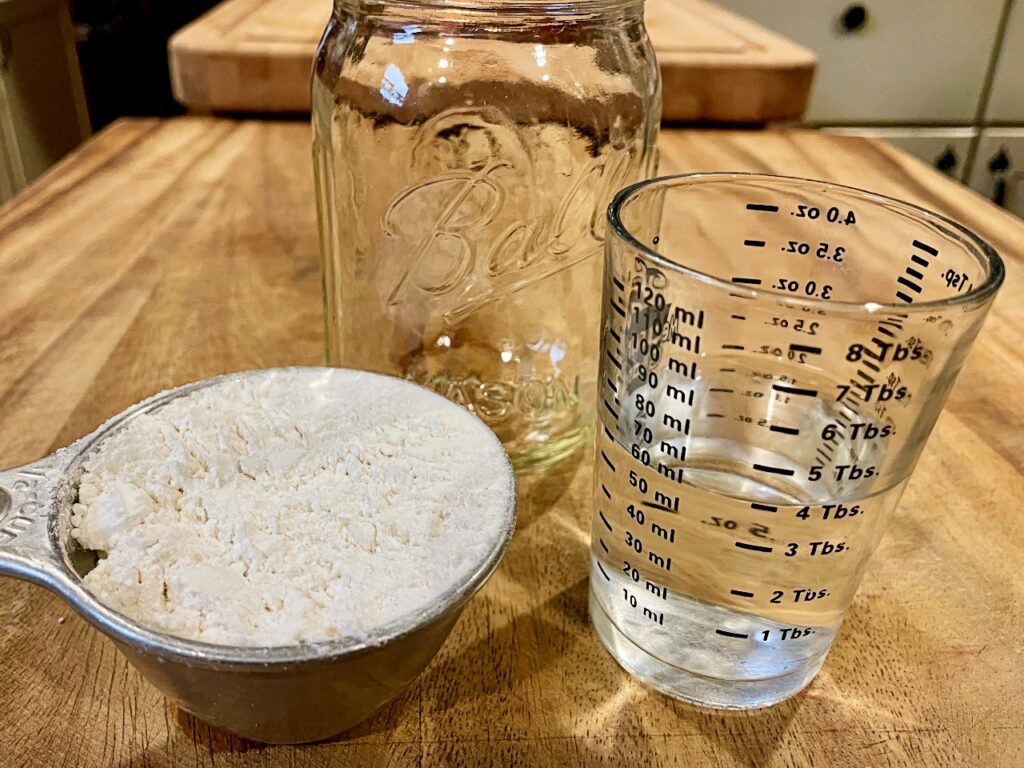
In your jar or container, mix:
- 1/2 cup all purpose flour (60 – 65g)
- 1/4 cup water (60g)
Stir until there are no dry spots. The mixture should be thick, like a very stiff pancake batter. If it feels too dry to stir, add a tiny splash of water. If it feels soupy, add a pinch more flour.
Cover the jar loosely and leave it on the counter at room temperature.
That’s it. Do not feed it again today. Just let it sit.
It may look like nothing is happening. That is completely normal.
Day 2: First Feeding
You might see bubbles. You might not. Either way, you are on track.
Spoon out about half of your sourdough starter and discard. You do not need to measure this. Just eyeball it.
Add:
- 1/2 cup flour (60 – 65g)
- 1/4 water (60g)
Stir well, scrape down the sides of the container, and loosely cover again.
At this stage, the sourdough starter may smell neutral, floury, or slightly odd. All of that is normal.
Day 3: Keep Going
Repeat the same feeding as Day 2.
Discard about half, then add:
- 1/2 cup flour (60 – 65g)
- 1/4 water (60g)
By now, some sourdough starters get very bubbly and active. Others seem completely quiet. Both are normal.
You may notice a stronger smell today. It can be sour, tangy, or even a little funky. This does not mean anything is wrong.
Day 4: The Weird Phase
This is the day when many people panic. Don’t.
Repeat the same feeding:
- Discard about half
- Add 1/2 cup flour (60-65g) and 1/4 cup water (60g)
Your starter may:
- Stop bubbling
- Smell unpleasant
- Look flat and lifeless
This is a normal transition phase. It does not mean your starter died. It means the early bacteria is giving a way stronger, more stable yeast.
Do not throw it out. Just keep feeding it once a day.
Day 5: Signs of Life
You may start to notice:
- Small bubbles returning
- A lighter, airier texture
- A smell that is more pleasantly sour
Feed the starter the same way:
- Discard about half
- Add 1/2 cup flour (60-65g) and 1/4 cup water (60g)
If nothing seems different yet, that is still okay. Starters work on their own timeline.
If your kitchen runs cool, your starter may take a little longer to become active. That’s normal and doesn’t mean anything is wrong. It just means you need a few extra days for your starter to mature.
One small thing that’s made a big difference for me is wrapping a kitchen towel around my starter jar, almost like a little coozie. It helps keep the temperature more stable, especially in a cooler kitchen, and I’ve noticed better activity when I do this.
Day 6: Building Strength
By now, many starters will show some rise after feeding. You might notice it puffing up and then slowly sinking back down.
Continue daily feeding
- Discard about half
- Add 1/2 cup flour (60-65g) and 1/4 cup water (60g)
If your starter looks very thick and sluggish, you can add a teaspoon or two of extra water. Thickness matters more than exact measurements.
Day 7: Almost There
Some starters are ready by Day 7. Others need more time. Both are normal.
Your starter is considered established when:
- It rises after feeding
- You see bubbles throughout the jar, not just on top
- It smells pleasantly sour or yeasty, not rotten.
If it’s not quite there yet, keep feeding it daily. Time is more important than the calendar. In some cases, it can take up to a month.


A Quick Reassurance Before You Move On
If your starter isn’t bubbly yet, that’s okay. Keep feeding it once a day and give it time. Sourdough doesn’t follow a strict calendar, and slower starters often become the strongest ones.
Once your starter is consistently active, you do not need to keep feeding it every day forever. After it is well established, you can switch to a much lower maintenance routine. I walk through that process step by step in my weekly feeding guide.
Sourdough Starter FAQ (Beginner Questions)
How do I know if my sourdough starter is ready?
Your starter is ready when it shows consistent activity, not because it reached a certain day on the calendar.
A starter is ready when:
-It rises after feeding and then slowly falls back down
-You see bubbles throughout the starter, not just on the surface
-It smells pleasantly sour or yeasty, not sharp or rotten
For many homes, this happens between 7 and 14 days, sometimes longer if your kitchen runs cool. A slower starter is not a failed starter.
Where should I store my sourdough starter?
While you are building your starter, keep it:
-At room temperature
-Away from drafts and direct sunlight
-Loosely covered so it can breathe
-Once your starter is active and reliable, it can be stored in the refrigerator if you are not baking often. This is when many home bakers switch to a once-a-week feeding routine.
How do I know if my starter has gone bad?
Most starters do not go bad easily.
Your starter is still fine if:
-It smells sour, tangy, or yeasty
-There is liquid on top
-It looks flat or quiet for a day or two
Your starter should be thrown out if you see:
-Fuzzy mold that is green, black, pink, or orange
-A strong rotten or putrid smell
If you see mold, it’s best to start fresh. Everything else is usually fixable with regular feedings.
What if I forgot to feed my starter one day?
That’s completely okay. Missing one feeding will not ruin your starter. Just feed it the next day and continue as usual. Consistency over time matters much more than perfection.
What about sourdough discard?
As you feed your starter, you’ll discard some of it. This is normal and part of the process.
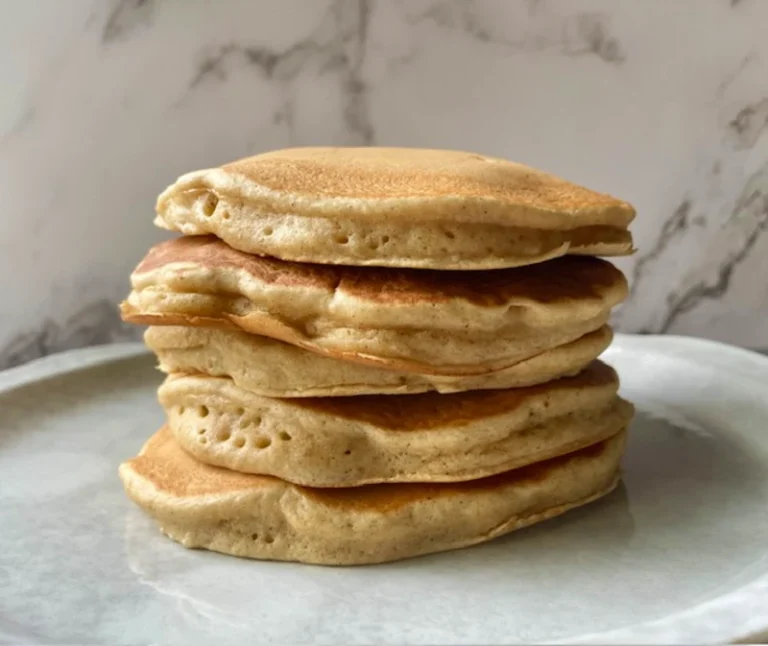
In the early days, discard is usually thrown away because the starter isn’t strong yet. Once your starter is established, that discard can be saved and used in easy recipes like crackers, pancakes, and muffins.